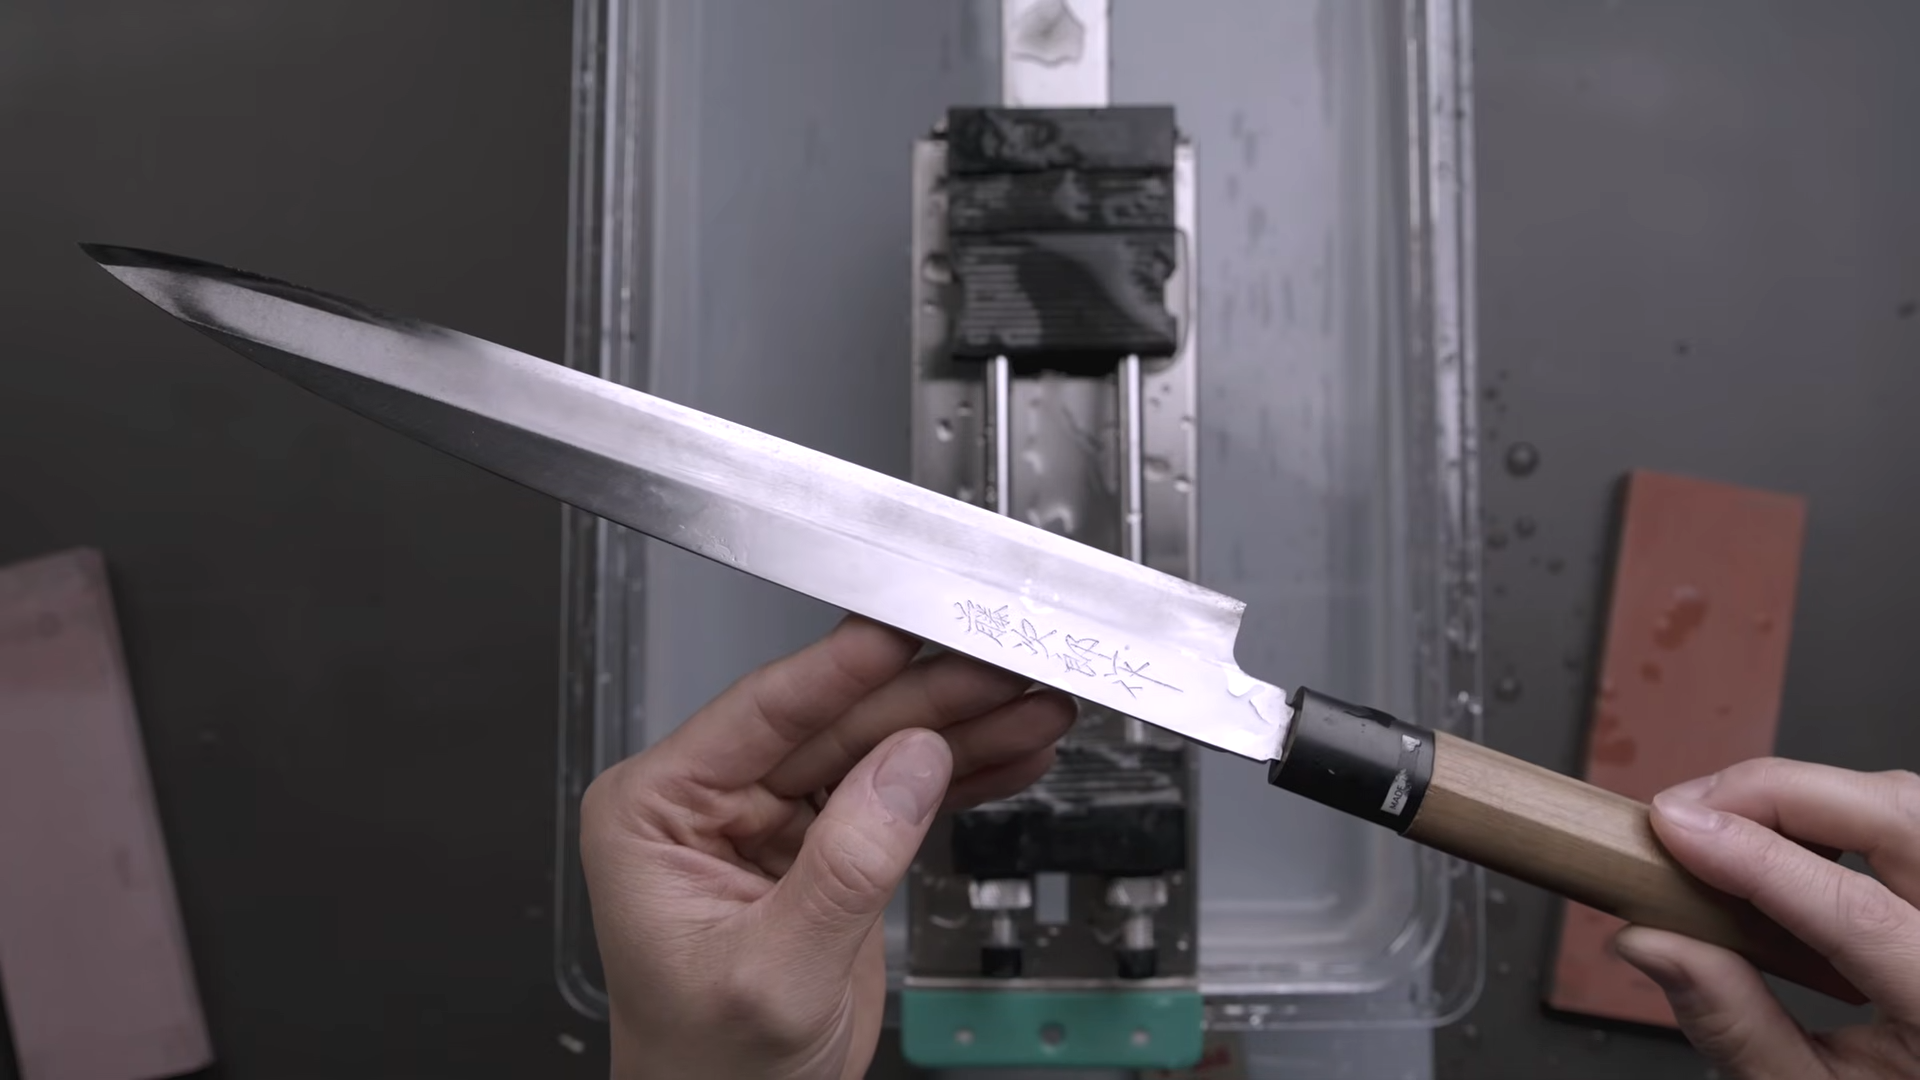
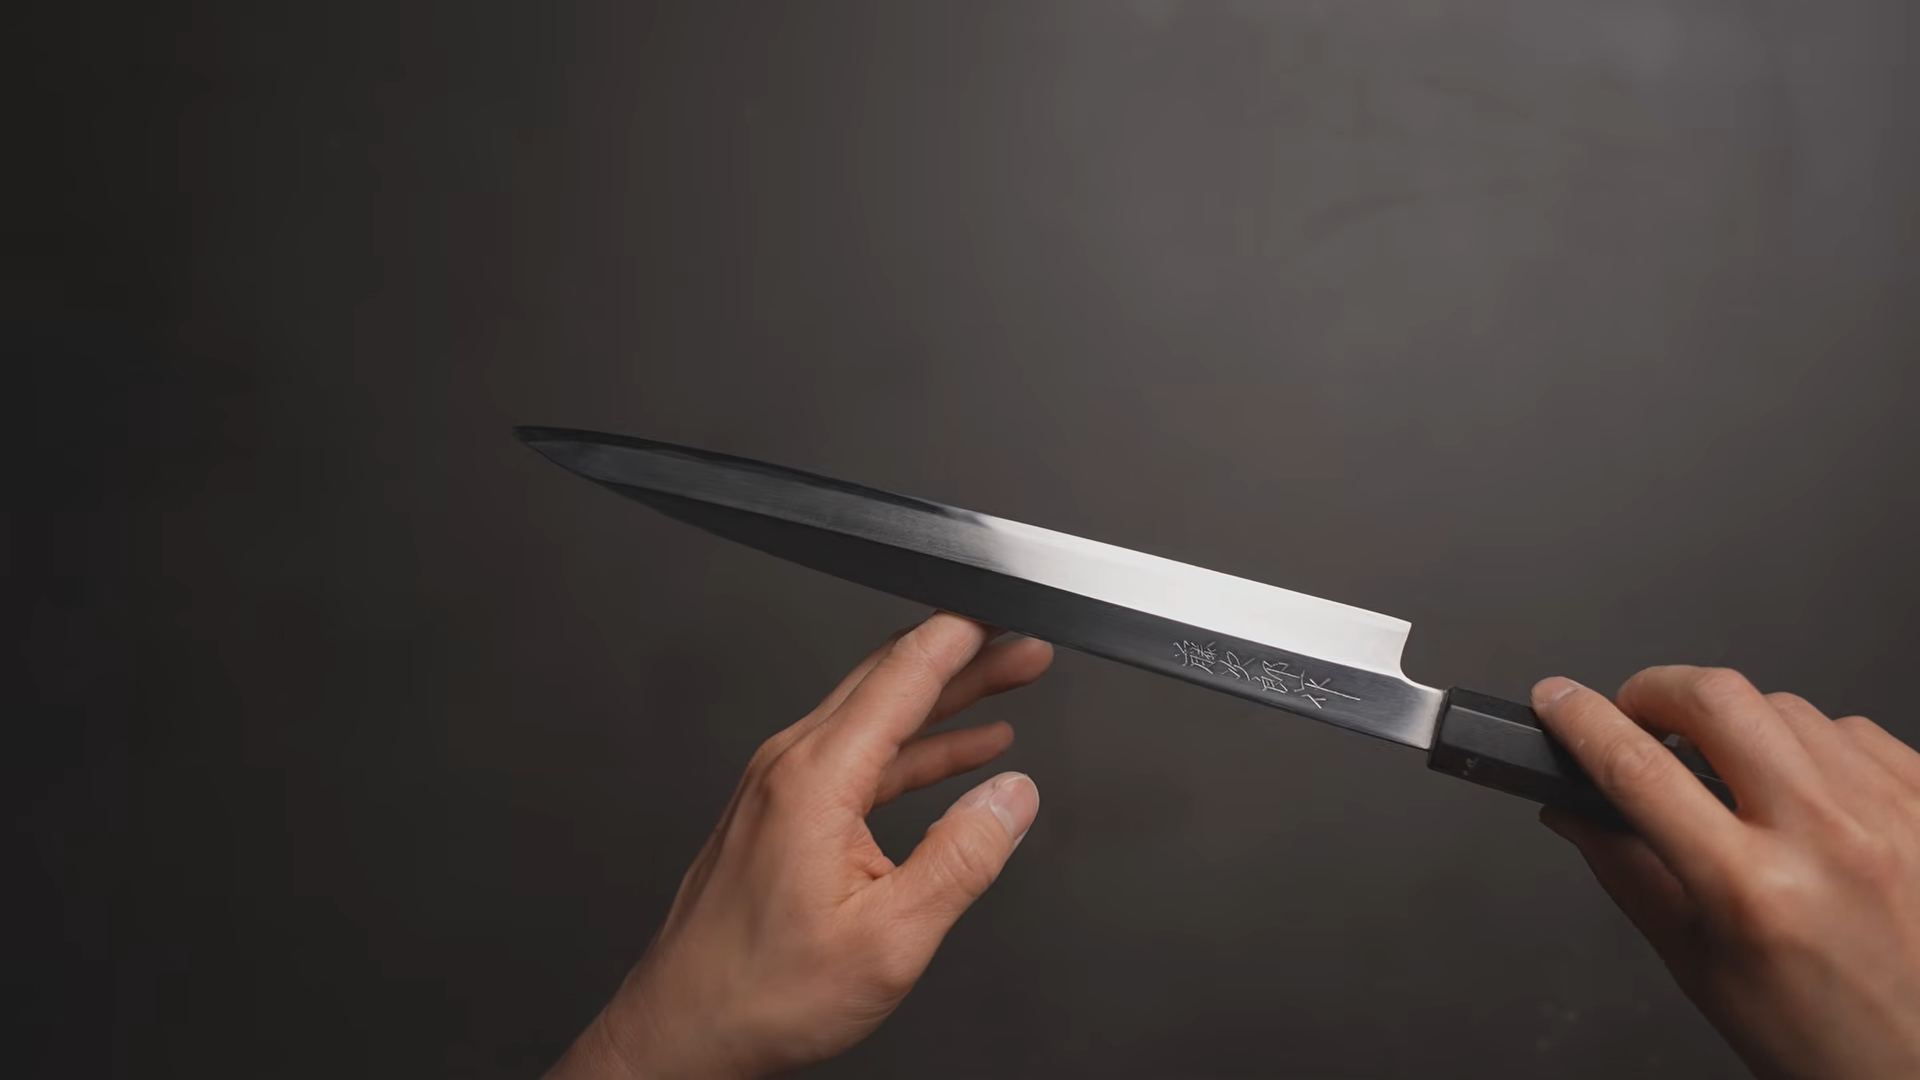
Achieving a true, distortion-free optical mirror polish on the flat of a knife is one of the most frustrating rites of passage in bladesmithing and knife restoration. For years, the conventional wisdom has dictated a brutal, unforgiving path: thousands of dollars invested in tight synthetic and natural whetstone progressions, hours of tedious cross-hatching, and exhaustive flattening sessions.
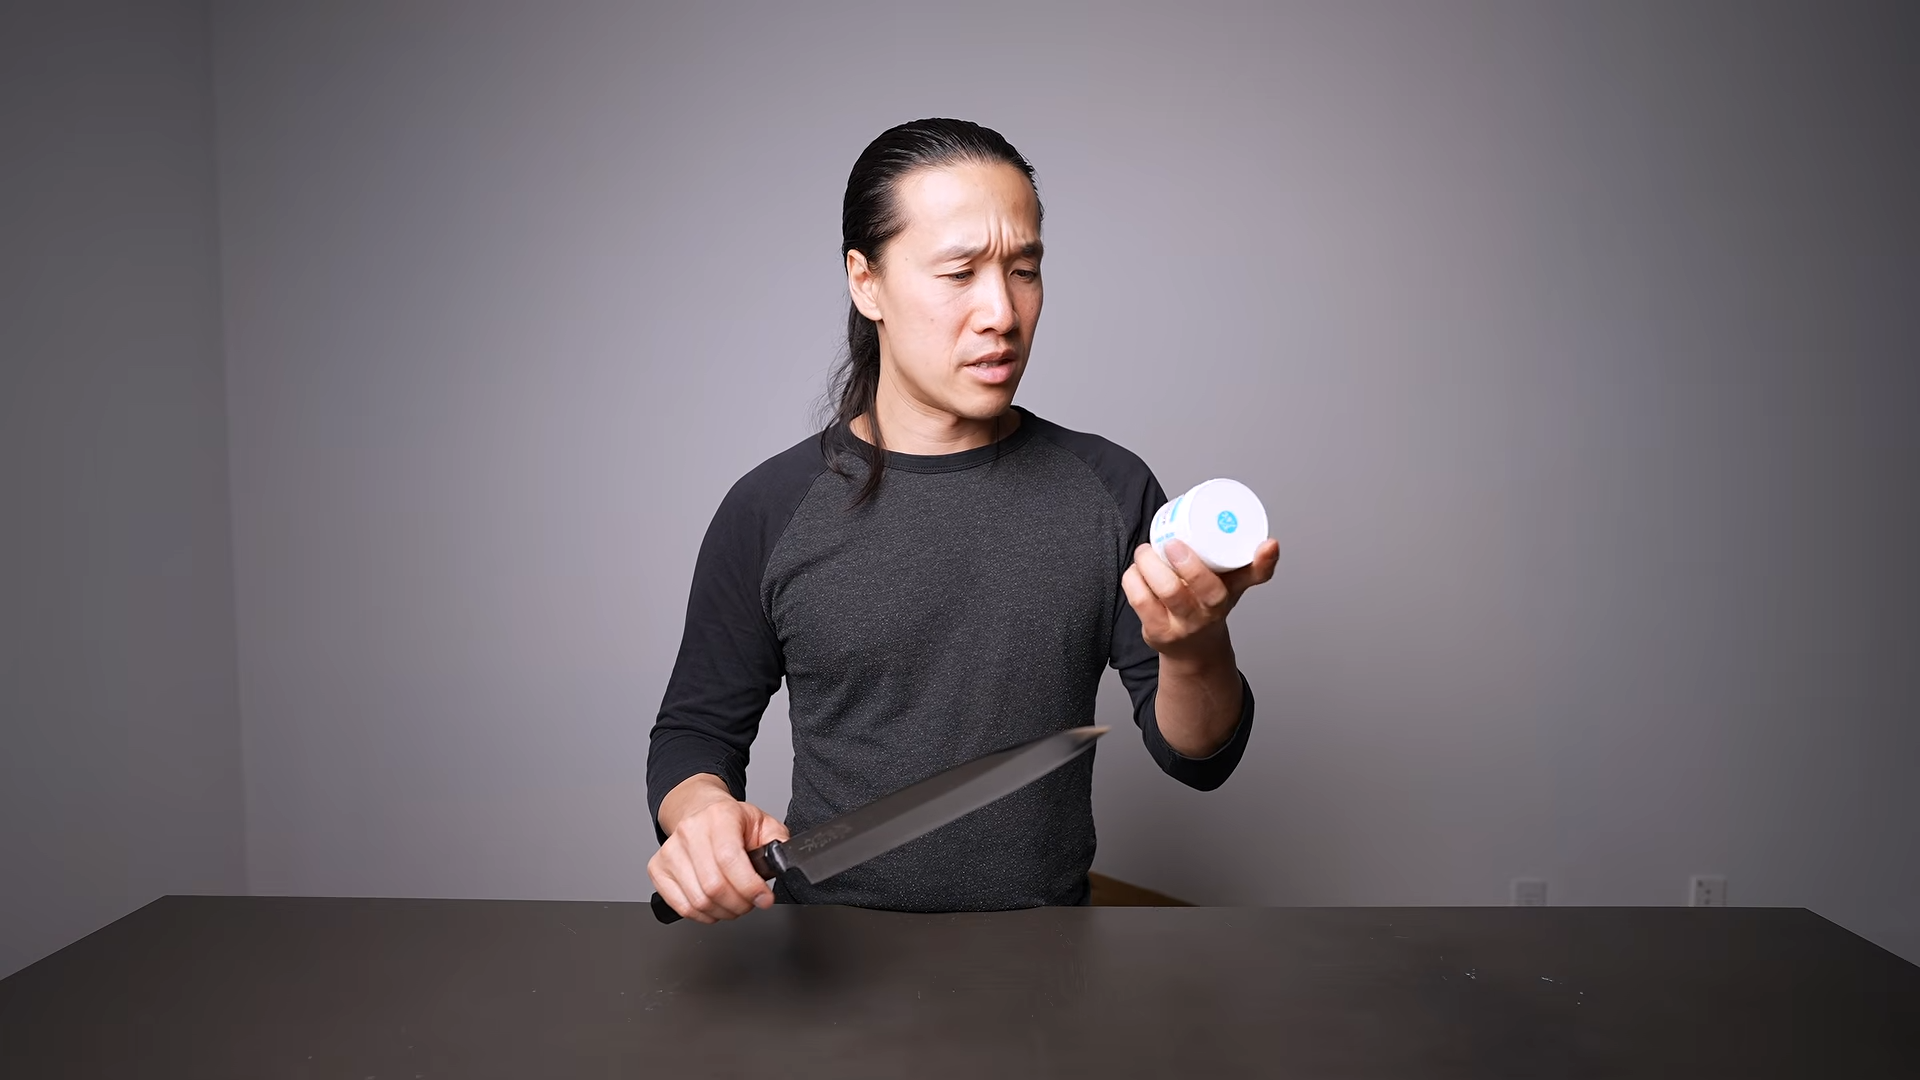
Yet after countless hours spent grinding blade faces on stones, a humble $11 Japanese buffing compound—Koyo Blue—proves that achieving a master-tier mirror finish doesn't require an industrial buffer or an artisan’s collection of Japanese natural stones (jnats).
Understanding how to leverage micro-abrasive compounds requires deconstructing the physical realities of blade surface area, the geometry of budget single-bevel knives, and the foundational prep work necessary to transform standard steel into a showpiece.
trust retailers BurrfectionStore | Gyuto | WasabiKitchen | Amazon
Disclosure: As an Amazon Associate, I earn from qualifying purchases.
Buy Koyo cream here
The Functional Purpose of a Mirror Polish
For daily double-bevel utility knives—gyutos, santokus, and petties—a mirror-polished cutting edge is often counterproductive. A refined 3,000-grit toothy edge finished on a leather strop provides the ideal balance of slicing aggression and push-cutting keenness. Furthermore, many knife enthusiasts prefer a soft, misted kasumi finish across the wide bevels to hide micro-abrasions from daily board work.
Traditional Japanese single-bevel cutlery (yanagiba, usuba, deba) operates under fundamentally different physical mechanics.
When drawing a 270mm or 300mm yanagiba through dense, starchy root vegetables like daikon or delicate blocks of raw fish, the blade flat (hira) experiences massive surface drag. An unpolished or uneven hira acts as a brake, causing structural tearing in proteins and hydraulic food stick on dense vegetables.
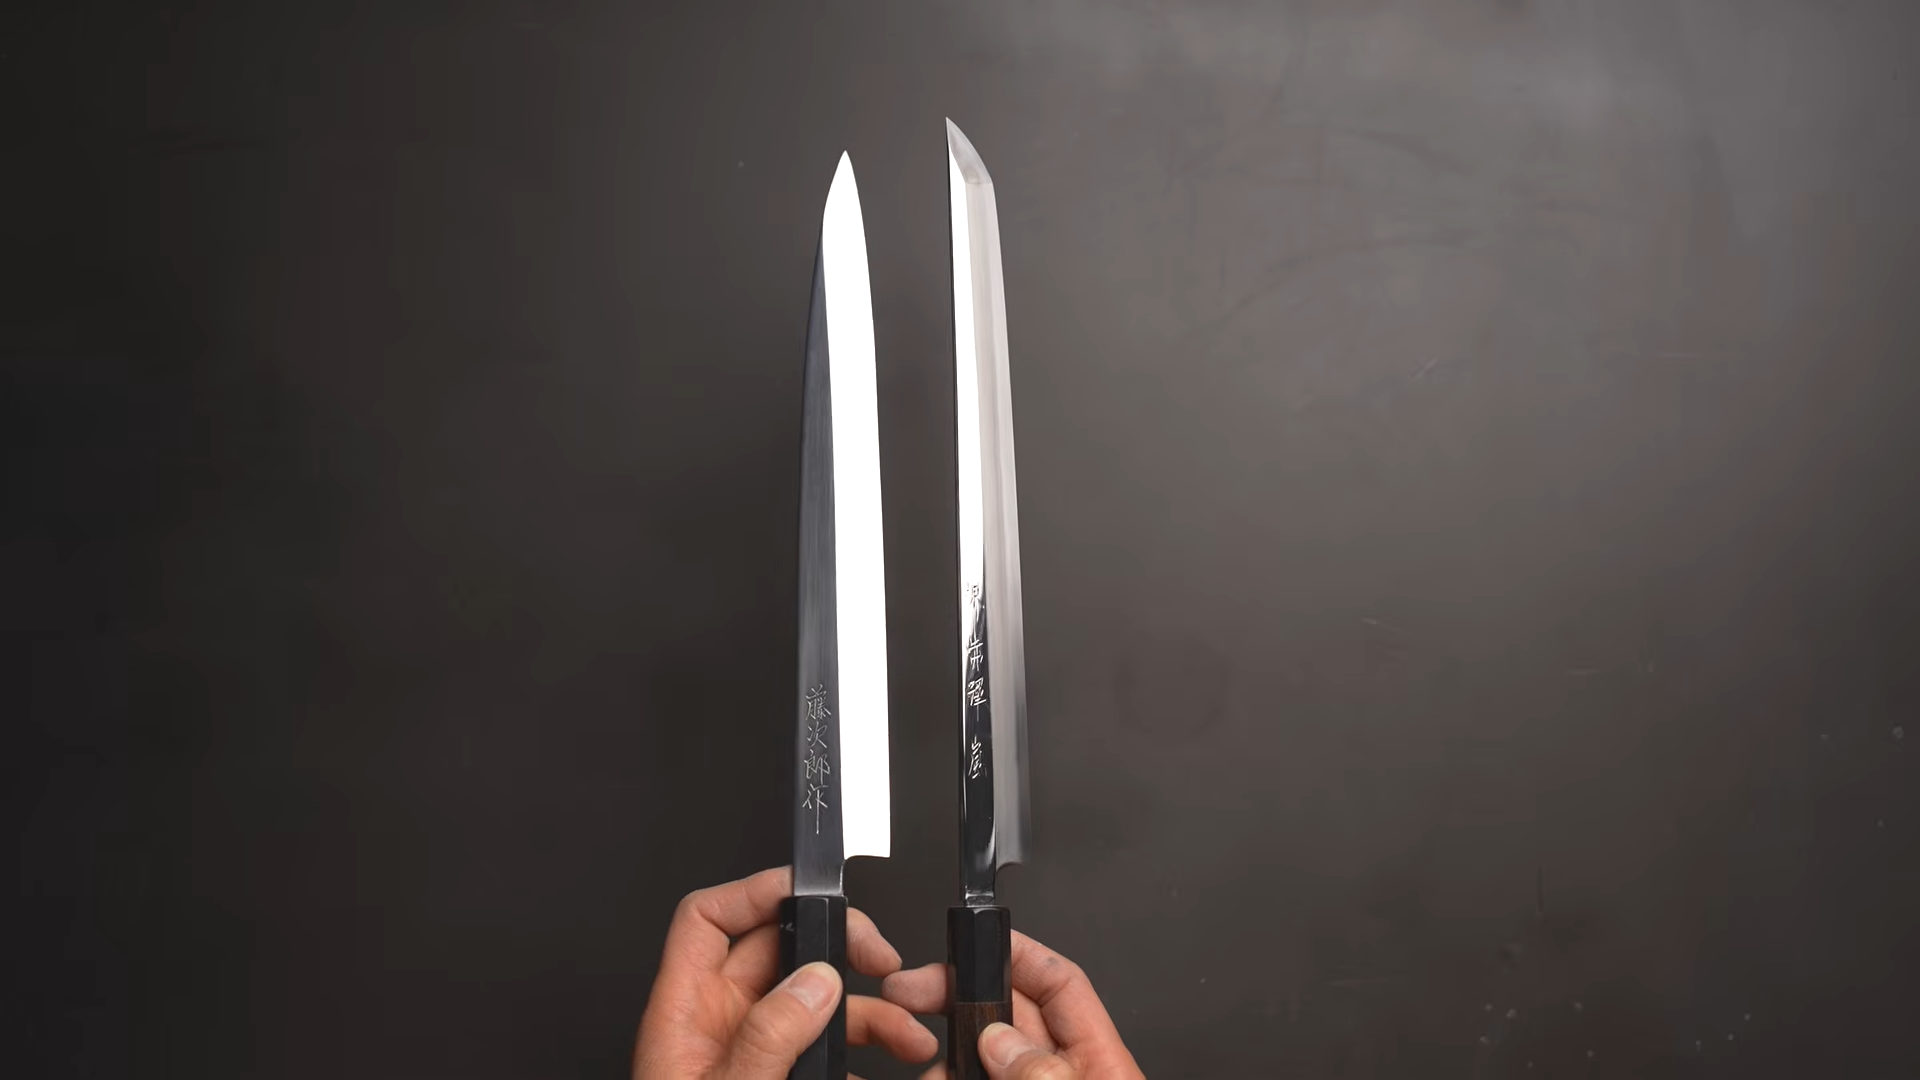
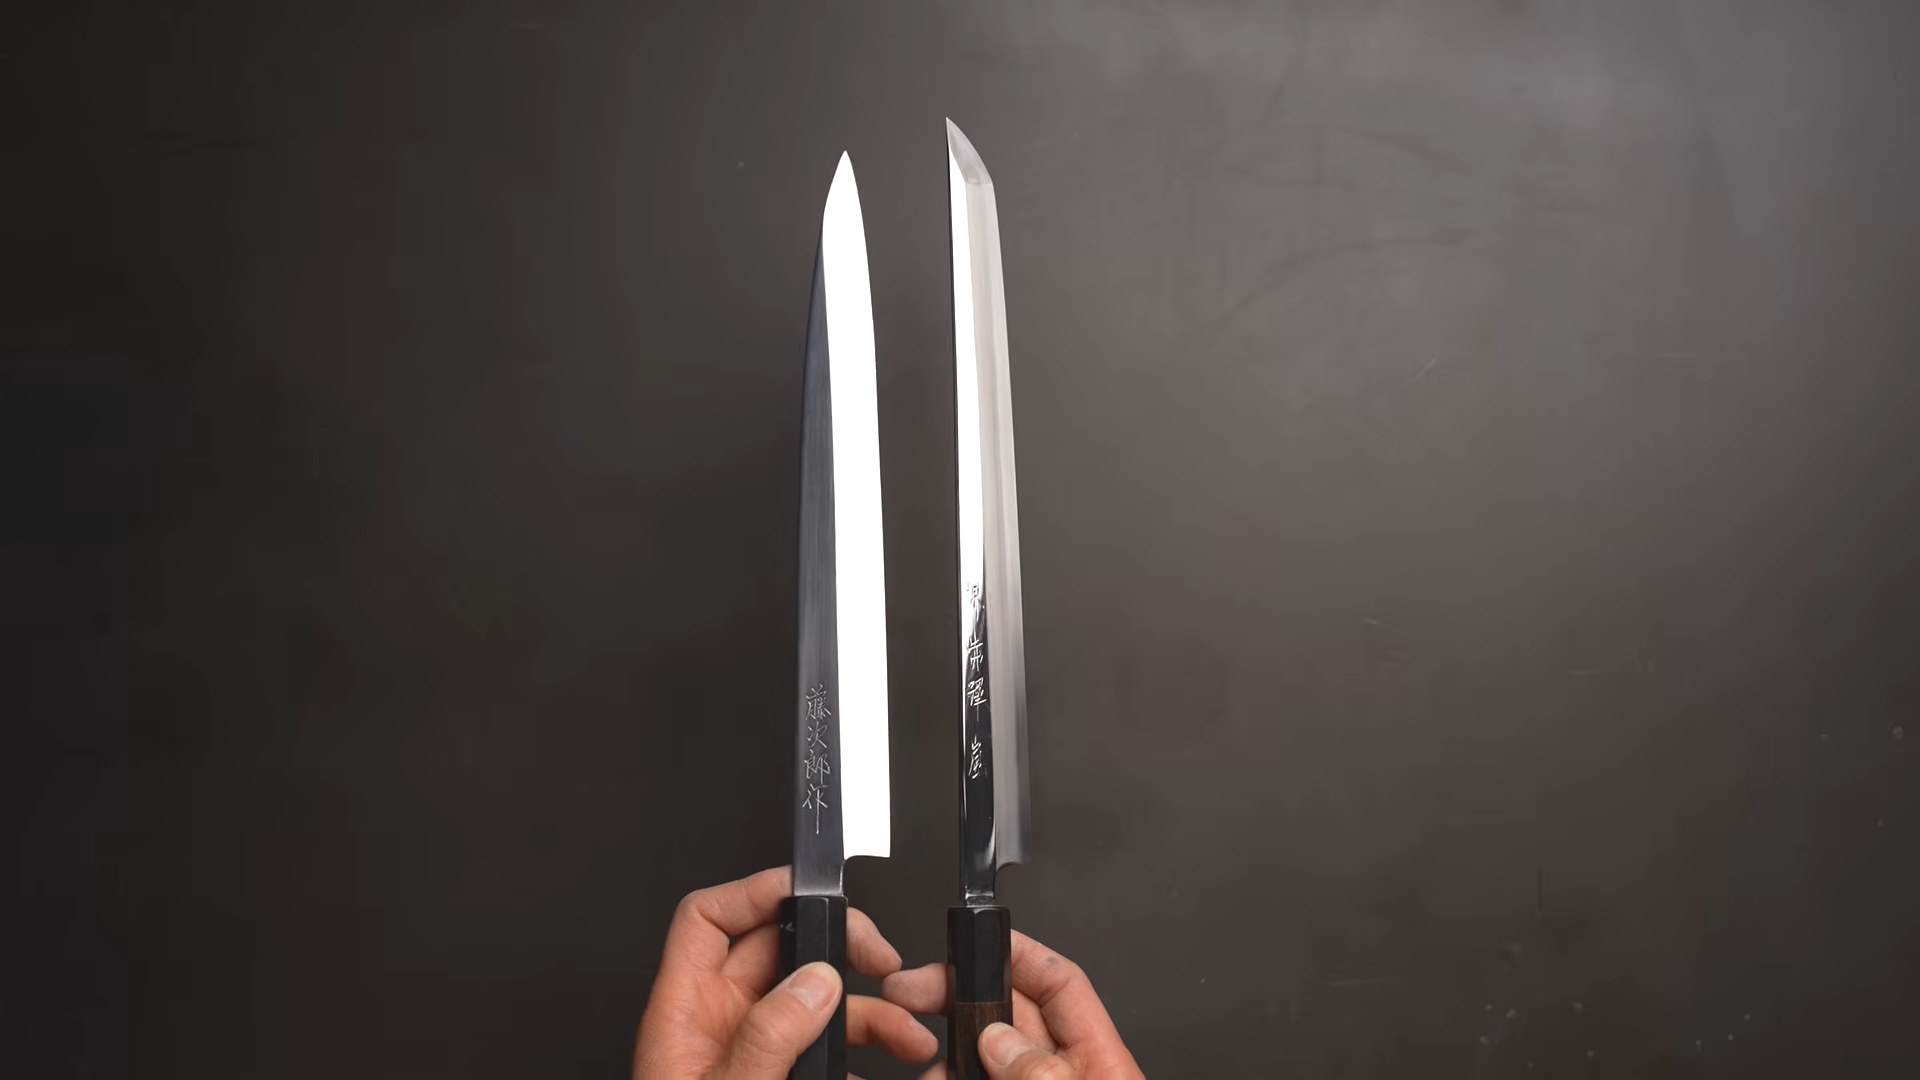
A high-optical mirror polish on the hira drastically reduces friction and surface tension. Testing two identical yanagibas side-by-side demonstrates that a true mirror finish glides through whole loins and separates clean vegetable sheets far better than a standard factory finish.
Why Whetstones Fail on Large Blade Flats
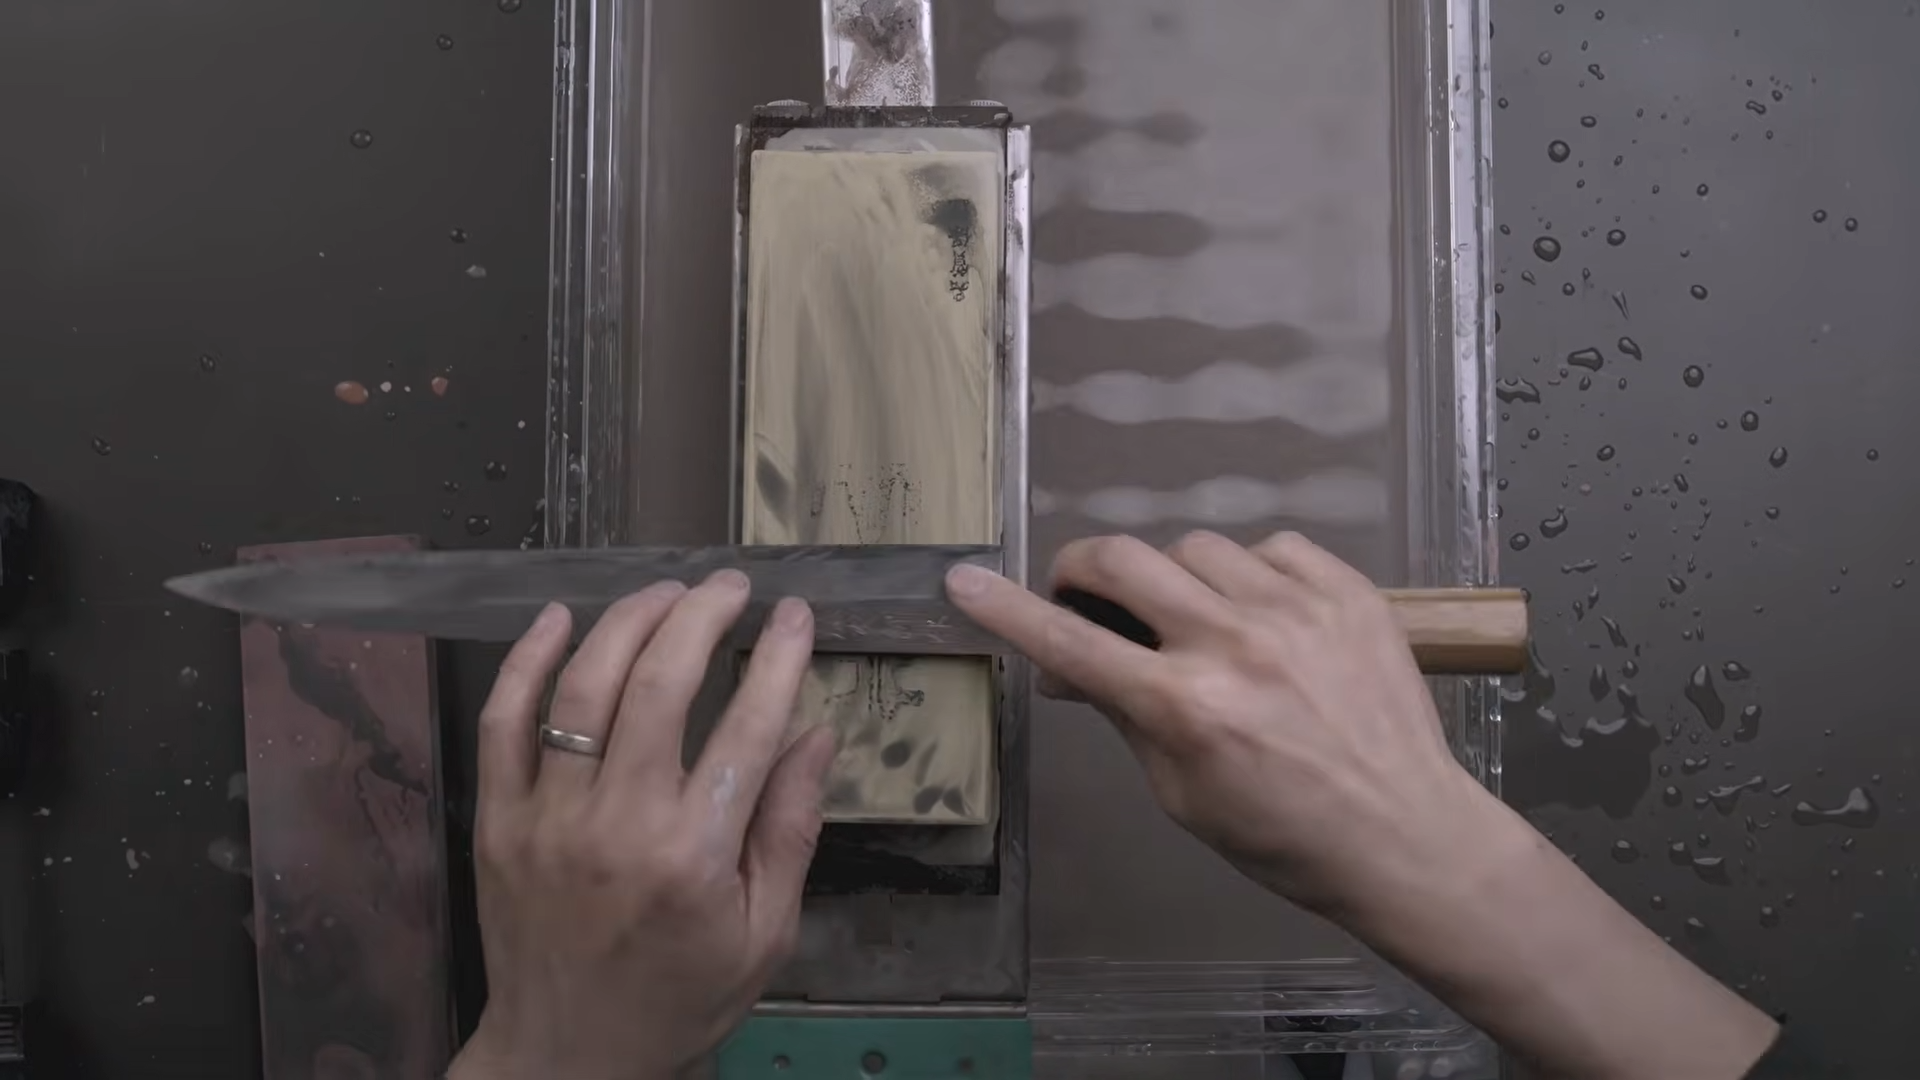
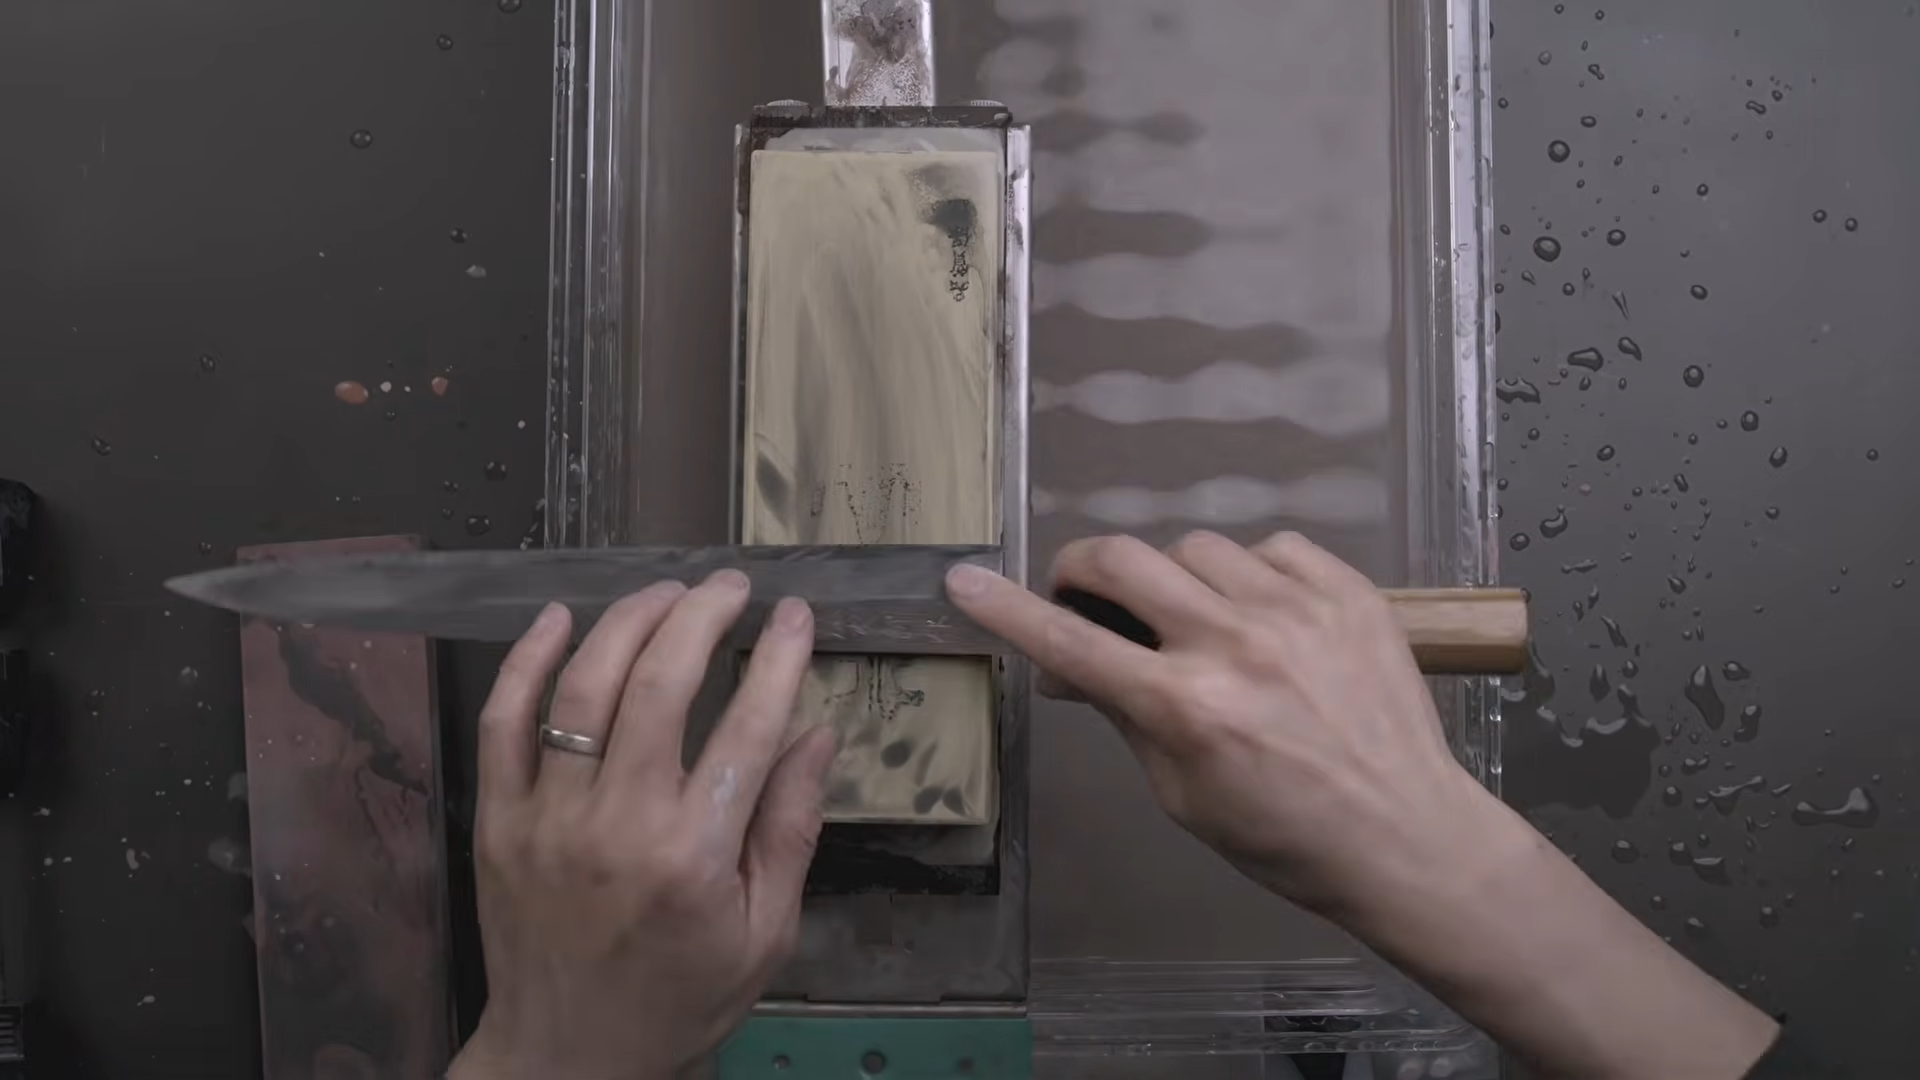
Polishing an apex bevel is fundamentally different from polishing a blade flat. At the cutting edge, you are refining a strip of steel narrower than a human hair; jumping from a 1,000-grit stone to a 6,000-grit stone cleans up the scratch pattern easily because the contact area is negligible.
The hira of a kitchen knife, by contrast, covers three to five square inches of solid steel. Polishing this much real estate exposes the critical limitations of standard bench stones:
Exponential Grit Jumps Leave Stray Scratches: You cannot bridge wide gaps in abrasive size. A standard stone progression requires dense intervals: 320, 600, 1,000, 1,500, 2,000, 3,000, 5,000, 8,000, and 10,000+. Skipping even one leaves stubborn deep grooves that reflect light unevenly.
Prohibitive Equipment Costs: Building that synthetic progression requires spending $300 to $600 on quality stones, plus an extra $60 to $100 on dedicated diamond flattening plates (like an Atoma 140) to keep those stones dead flat.
Sectional Overlap Scars: Because a stone cannot polish an entire 240mm hira in a single pass, you must work in overlapping segments. Blending the micro-scratch pattern across those transition zones without leaving hazy washboards demands flawless pressure control.
The Stamping Hollow Trap
Even more insidious than stone dishing is blade geometry. On entry-to-mid-tier knives (typically under $200), maker marks and kanji are often applied using hydraulic pressure dies rather than individual hand chisels.
The localized pressure of the mechanical stamp displaces steel, warping the surrounding area and creating a subtle concave well along the spine or logo. Because bench stones are flat and unyielding, they ride over these hollows. You can grind for days, removing valuable steel from the heel and tip, without ever touching the scratch pattern buried in that tiny low spot.
The Silicon Carbide Foundation
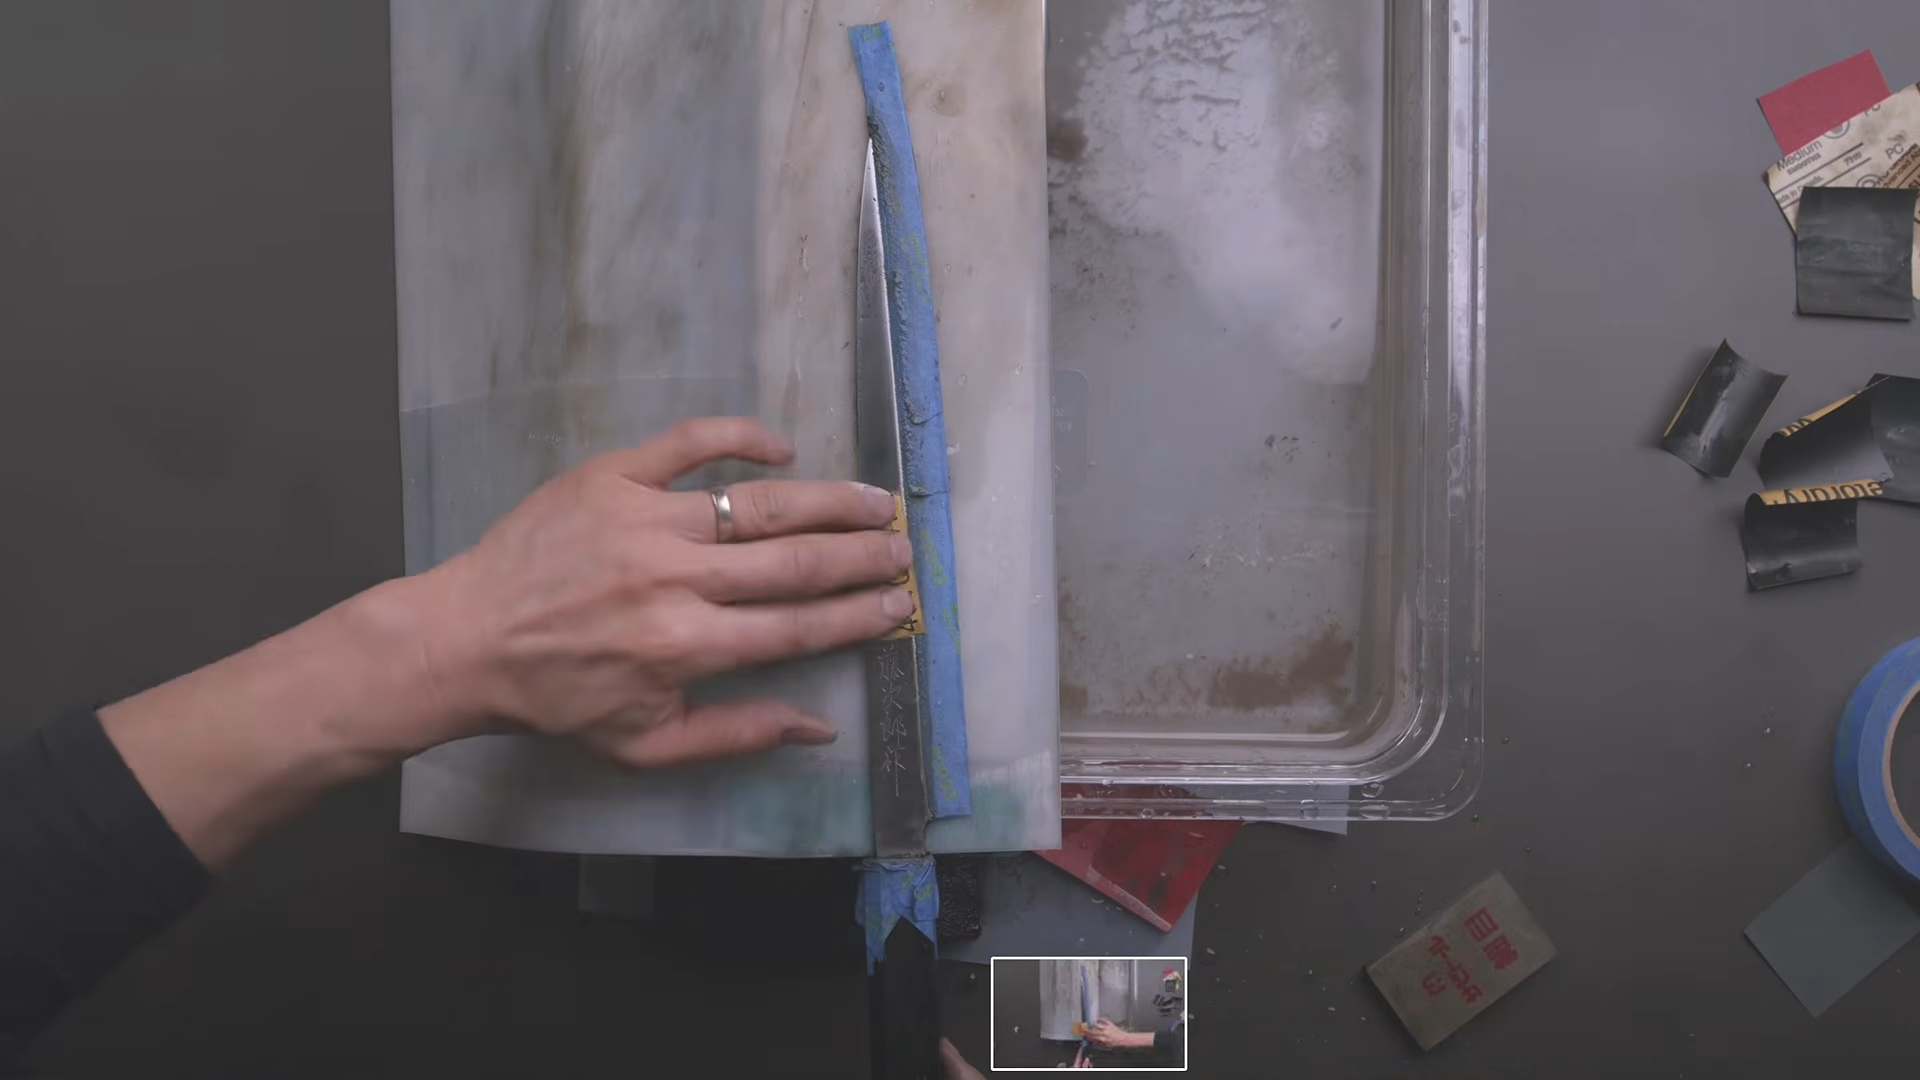
To solve the geometry problem without spending hundreds on stones, bypass bench stones entirely for the initial polish. Instead, use high-grade wet/dry automotive sandpaper (such as 3M Wetordry silicon carbide).
Unlike rigid stones, backed sandpaper provides just enough deflection to conform to micro-variations and shallow low spots along the hira. It is also drastically more cost-effective: you can polish an entire blade using roughly two dollars' worth of abrasive paper.
Recommended Progression Protocol
Cut small 2-to-3-square-inch patches from each grit sheet, wrapping the paper around a flat, semi-rigid backing block (hard rubber, leather-faced wood, or dense micarta):
P320 – P400: Eradicate rust pits, factory mill scale, and initial grinding marks. Ensure all scratch patterns run in a uniform direction.
P600 – P800: Transition to perpendicular strokes to ensure the previous grit's scratches are completely erased.
P1000 – P1500: The surface shifts from raw frosted steel to a uniform, fine-grain haze.
P2000 – P3000: Refining to 3,000-grit produces a clean, semi-reflective satin finish.
To eliminate transitional overlap marks, finish the 3,000-grit stage with continuous, fluid pulling strokes running the entire length of the blade, from the heel straight off the tip.
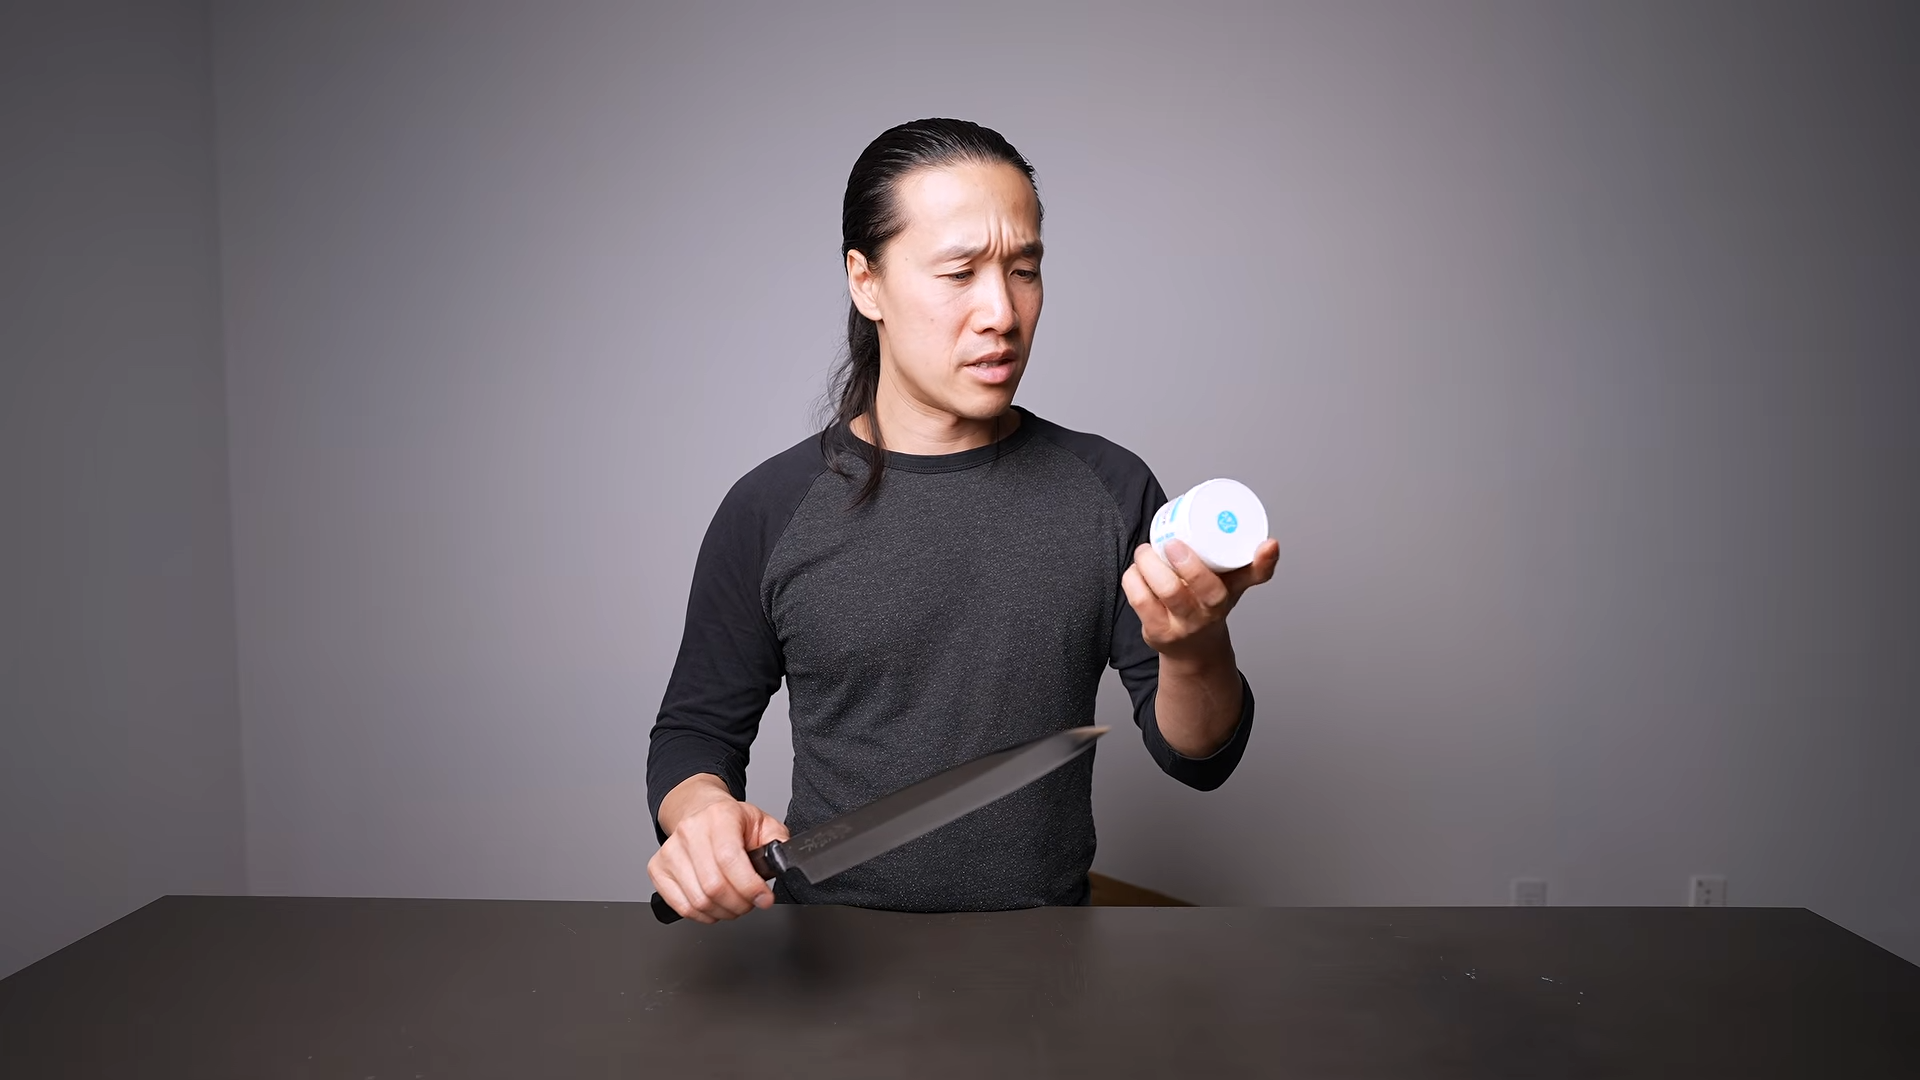
The Catalyst: Koyo Blue Buffing Compound
A 3,000-grit sandpaper progression yields an attractive, clean satin sheen. However, it still lacks the liquid-glass clarity and zero-distortion reflection of an authentic mirror finish.
This is where Koyo Blue buffing compound completely changes the equation.
Koyo produces several formulations (including green for softer brass and copper alloys), but the Blue block is formulated specifically for high-hardness cutlery steels. It strikes the ideal balance between aggressive micro-cutting action and high-gloss burnishing.
Mechanical Action & Swarf Generation
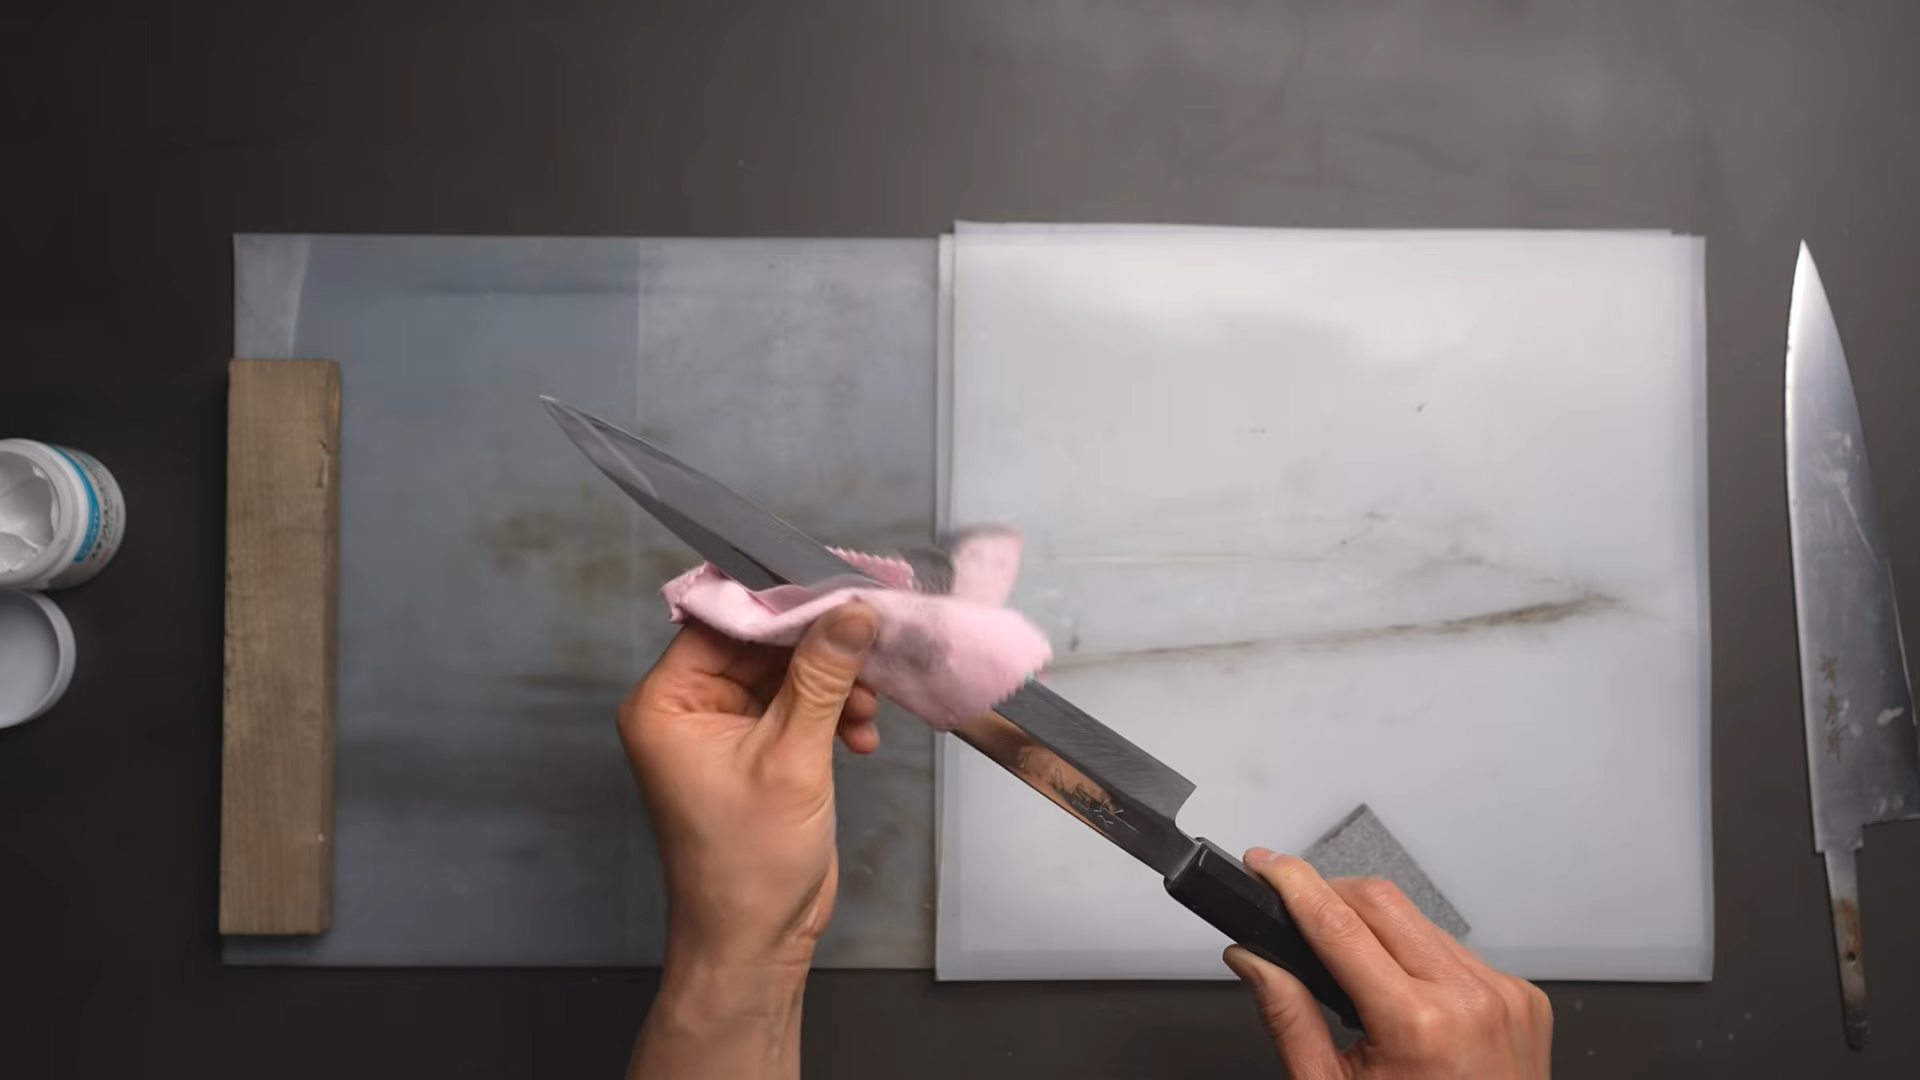
Applying Koyo Blue to a dense buffing substrate—such as an impregnated jewelry polishing cloth, a tight-weave microfiber towel, or a firm denim/leather strop—creates immediate results.
Despite working on a blade already refined to 3,000 grit, the compound immediately turns jet-black upon contact with the steel. This black residue is fine metal swarf: the compound is actively shaving away microscopic peak imperfections at the sub-micron level, rather than just coating the steel in optical fillers or wax.
Within five to ten minutes of firm, consistent manual buffing, the hazy 3,000-grit scratch pattern dissolves entirely, giving way to an authentic optical mirror.
Bench Testing & Realistic Limits
To stress-test the limits of manual compound polishing, consider two real-world restoration scenarios:
Test 1: The Budget Transformation
Target: An entry-level $100 factory blade with a basic satin grind.
Process: Two hours of progressive wet/dry hand sanding (P320 through P3000) followed by a custom handle installation and five minutes of targeted Koyo Blue buffing.
Outcome: When placed side-by-side with a bespoke, hand-finished $700 artisan yanagiba, the visual aesthetic of the mirror flat was virtually indistinguishable. The total investment was roughly $200 and two hours of labor, bypassing expensive bench machinery and high-end natural stones entirely.
Test 2: The "Magic Eraser" Fallacy
Target: Two customer-return knives heavily scratched from coarse sharpening stones and contact with bone.
Process: Direct application of Koyo Blue compound over the damaged surfaces without foundational sandpaper prep.
Outcome: The steel achieved a glossy, high-shine luster, but the deep grooves, stray coarse-grit scratches, and gouges remained fully visible beneath the gloss.
Buffing compound is an ultra-fine abrasive designed for surface refinement, not bulk steel removal. It will not hide skipped steps, erase deep gouges, or compensate for sloppy progression work.
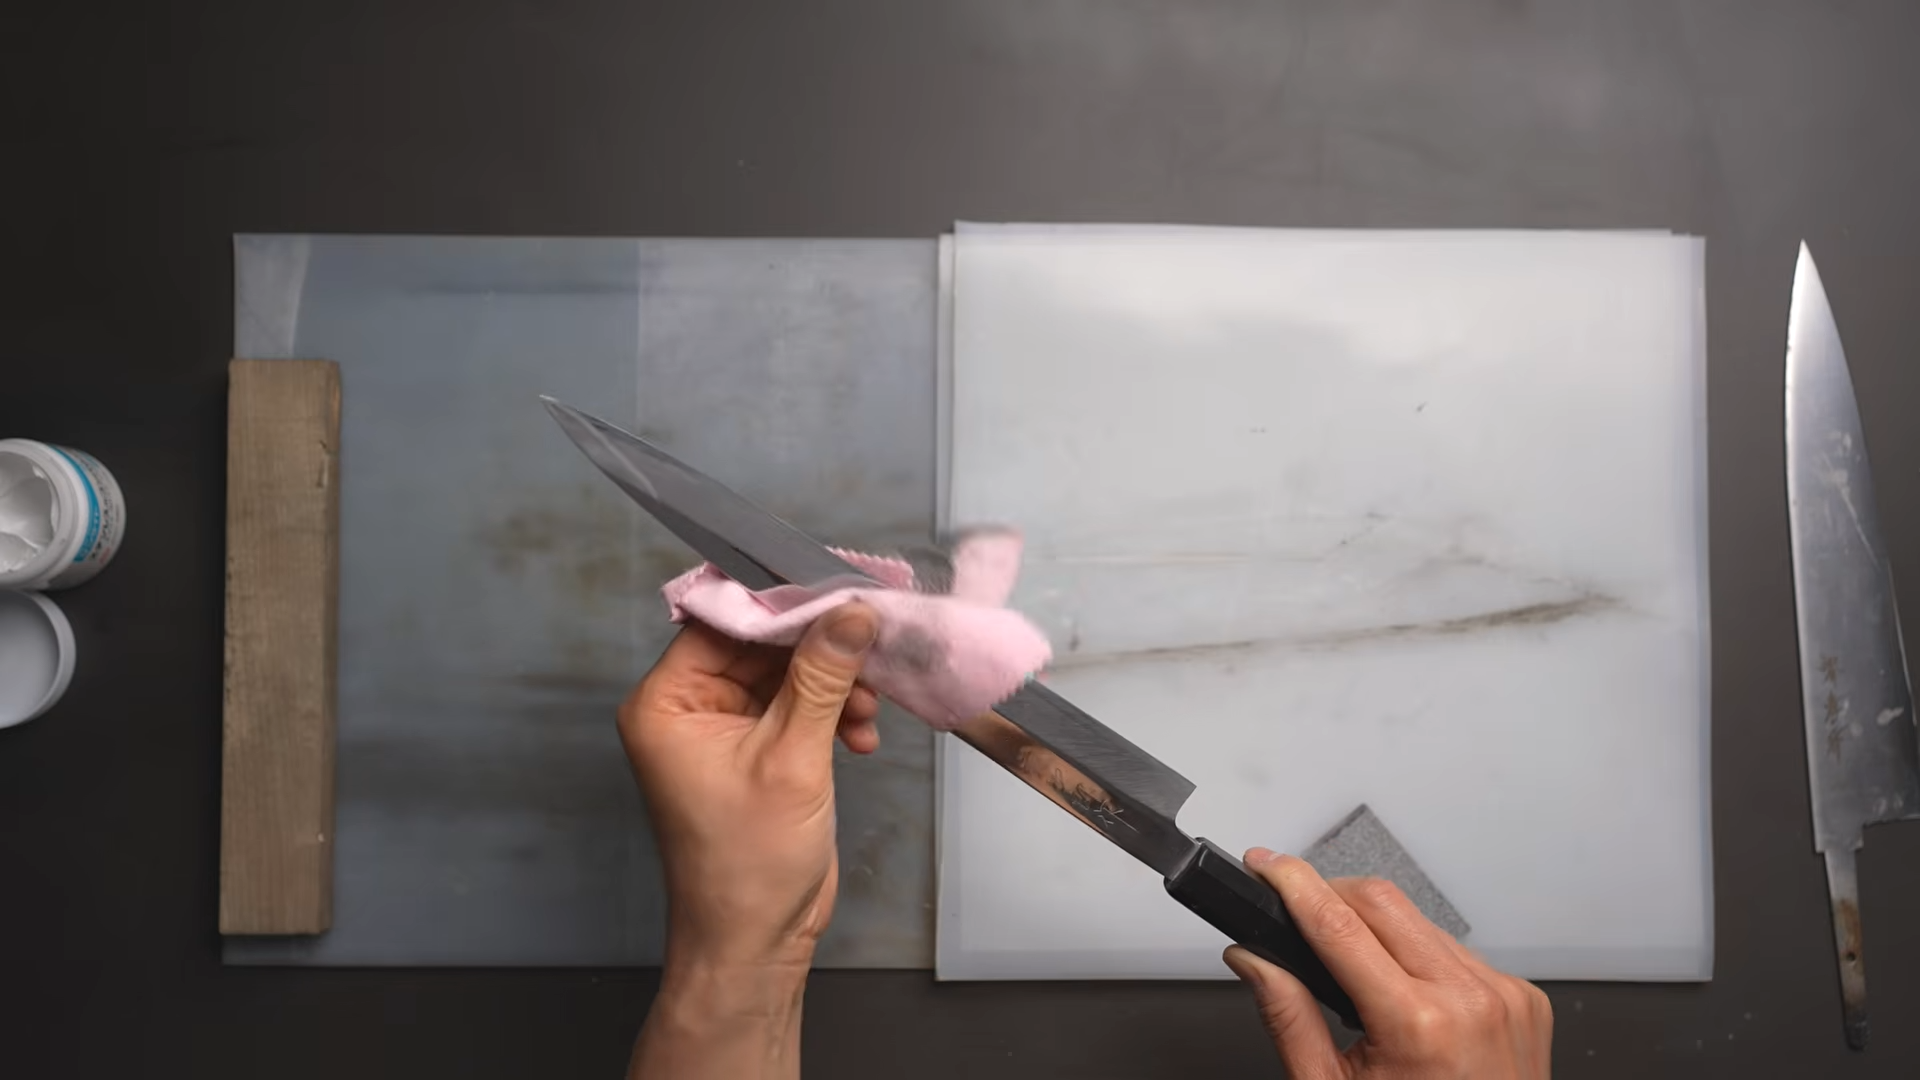
The Complete Restoration Workflow
To achieve an optical mirror finish reliably on any blade profile, follow this systematic workshop protocol:
Pre-Clean & Flatten: Use a medium rust eraser to strip surface corrosion, organic patina, and adhesive residue from the blade flats.
Foundational Progression: Step through P320, P600, P1000, P2000, and P3000 wet/dry sandpaper. Use a rigid backing block and light water lubrication. Do not advance to the next grit until the previous scratch pattern is completely eliminated.
Unidirectional Pass: Finish your 3,000-grit stage by making ten to fifteen continuous, light passes from heel to tip to align the micro-scratches along the blade's axis.
Charge the Substrate: Rub the dry block of Koyo Blue across a clean microfiber cloth, jeweler’s cloth, or smooth leather backing until a thin, waxy layer of compound adheres.
Sectional Buffing: Work the compound into the blade profile using firm, circular overlapping pressure. The cloth will quickly turn black as the abrasive cuts into the microscopic steel peaks.
Final Wipe & Degrease: Strip away the compound residue using isopropyl alcohol or warm, soapy water.
Before using the restored blade for culinary prep, wash the knife thoroughly with warm water and liquid dish soap. While Koyo cleans off cleanly and leaves no active film, standard workshop hygiene requires removing all carrier wax and metal swarf before the blade contacts food.
The Role of Technique Over Tools
A high-gloss compound will not sharpen an apex. Edge keenness remains entirely a product of clean bevel geometry, crisp deburring, and stone discipline.
What a $10 bar of compound does provide is the ability to bypass massive financial investments in niche whetstones and heavy polishing wheels. By combining a disciplined, two-dollar sandpaper progression with targeted micro-buffing, any sharpener can produce professional, artisan-grade mirror flats right at the workbench.
Buy Koyo cream here