To the untrained eye, a two-millimeter chip in the cutting edge of a kitchen knife looks like a fatal injury. For most home cooks, it’s the moment a blade gets relegated to the back of the drawer or thrown into the trash. But in the world of freehand sharpening, structural edge trauma isn't a death sentence—it’s an opportunity to rebuild, rethink, and optimize your blade’s geometry.
trust retailers BurrfectionStore | Gyuto | WasabiKitchen | Amazon
Disclosure: As an Amazon Associate, I earn from qualifying purchases.
Tools I use for repair available at Burrfection Store
Restoring a heavily fractured blade from start to finish does not require expensive motorized grinders or a week of free time. With a deliberate abrasive progression and an understanding of edge mechanics, you can grind out deep fractures, completely reprofile the belly, and return the knife to a razor-keen finish right on your bench.
Here is the exact technical roadmap to repairing a severely chipped knife from A to Z.
1. The Clearance Phase: Steep Angles for Rapid Stock Removal
When you are staring down a 2mm crater in your steel, your immediate goal is not sharpening; it is stock removal.
If you attempt to grind out a deep chip using your standard 12-to-15-degree finishing angle, you will end up grinding away massive amounts of surface area across the entire primary bevel. This wastes steel, exhausts your abrasive plates, and takes an agonizing amount of time.
The Solution: Execute the initial repair using a deliberately steep angle—closer to 45 degrees.
By raising the spine significantly, you focus all the abrasive friction directly on the apex floor.
This localized grinding clears the fractured steel rapidly, allowing you to establish a fresh, continuous line with minimal material loss to the overall blade height.
Once the chip is entirely erased and the edge is smooth, you can lower the spine back to your desired sharpening angle to set the final cutting bevel. (Note: Because you have ground 2mm up into the thicker core steel, the blade will eventually benefit from a dedicated thinning session to restore its wedging resistance).

2. Geometric Reprofiling: Flatter Profiles Cut Better
Factory chef's knives frequently ship with pronounced, rounded bellies designed to accommodate a Western "rock-chopping" motion. However, removing a major chip gives you the perfect excuse to permanently alter the blade's profile to suit a higher-performance cutting style.
As you grind away the damaged steel, intentionally apply less rocking motion through the belly of the blade.
The Push-Cut Advantage: By flattening out the curve, you increase the amount of steel that makes simultaneous contact with the cutting board.
Efficiency: A straighter edge profile drastically improves push-cutting, thrust-cutting, and rapid chopping. It eliminates the accordion-effect where herbs or vegetable skins remain partially connected because a curved belly skipped over the board.
3. The "Self-Flattening" Abrasive Technique
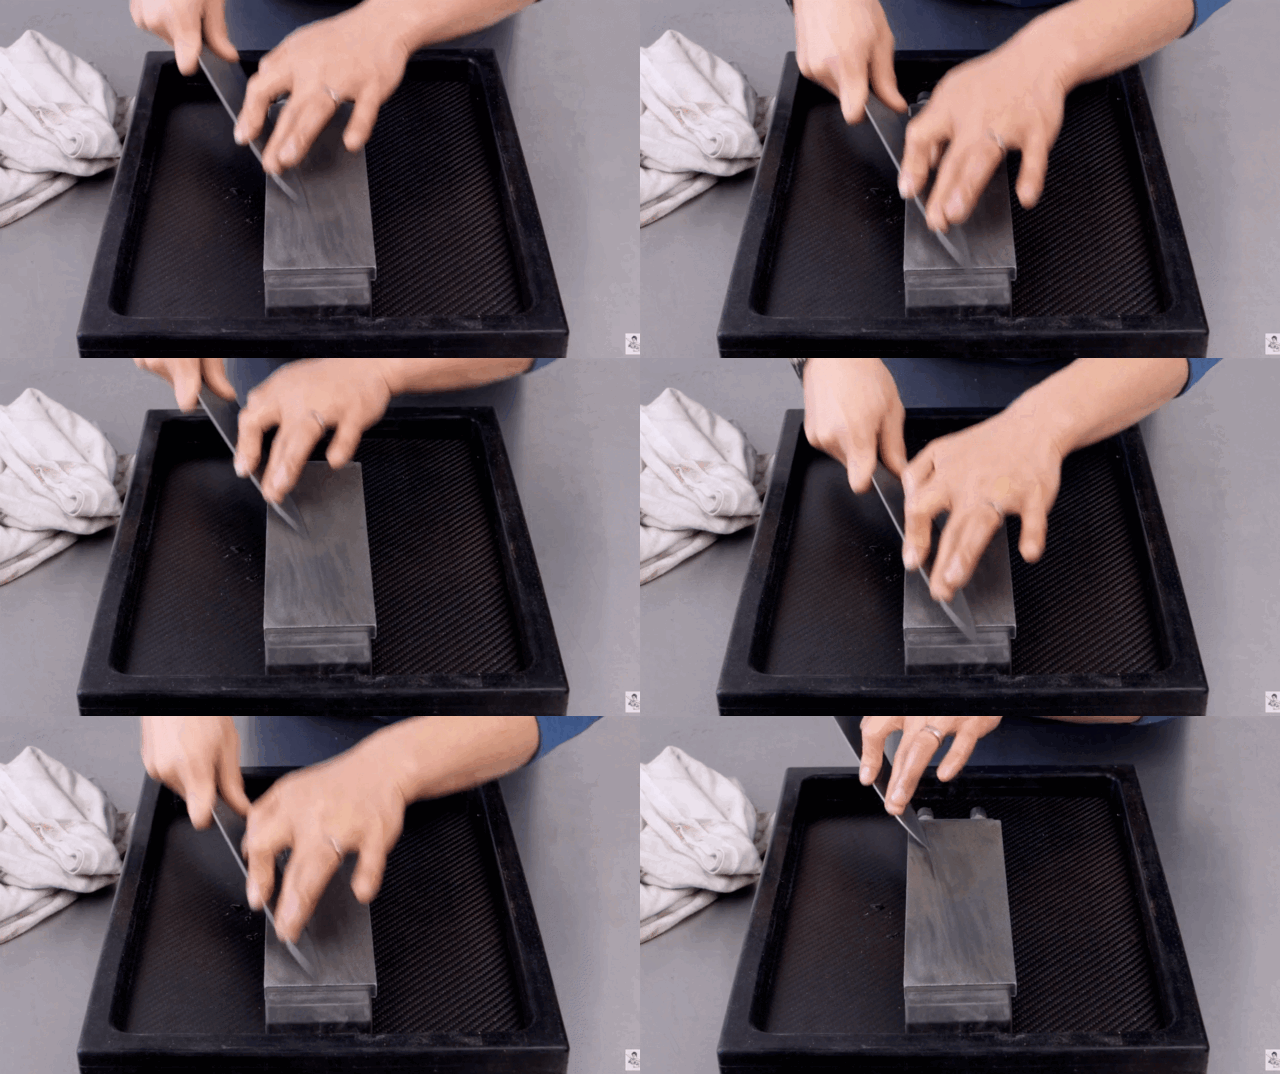
Let the diamond plate do the work
A common pitfall when undertaking heavy repair work is dishing out the center of your whetstones. However, you can actively use the restoration process to maintain the structural integrity of your stones.
When you transition to sharpening the tip of the knife—which requires precise pressure and rotation—intentionally move your strokes to the extreme outer edges and corners of your stone or diamond plate.
Why this works:
Sharpeners naturally spend 80% of their time working the dead center of the abrasive media, causing it to dish inward.
By consciously utilizing the untouched perimeter and corners for detail work, you actively grind down the highest points of the stone.
This dynamic abrasive management acts as a micro-flattening session while you sharpen, extending the time between dedicated leveling maintenance.

4. The Minimalist Repair Progression (140 to 320 to Strop)
You do not need an eight-stone progression to perform a massive repair. A targeted, three-step minimalist setup is highly efficient:
Step 1: The Heavy Lifter (140-Grit Diamond Plate)
For chewing through 2mm of hardened steel, standard synthetic waterstones dish too quickly and cut too slowly. An electroplated 140-grit diamond plate is mandatory here. It cuts at maximum velocity without losing its geometric flatness, allowing you to quickly erase the chip and set your straighter profile.
Step 2: The Foundation (320-Grit Waterstone)
Diamond plates leave a jagged, aggressive scratch pattern. Jumping straight to a 1,000-grit stone takes too long to blend those gouges. A 320-grit coarse waterstone is the perfect bridge. It removes the 140-grit scratches, establishes a clean bevel, and pulls a consistent structural burr across the newly formed edge.
Step 3: Mechanical Deburring (Leather Strop with Green Compound)
Stopping at 320-grit leaves a highly functional, toothy edge, but the wire burr at this stage can be stubborn. Finishing with light, alternating, edge-trailing strokes on a leather strop loaded with Chromium Oxide (green compound) provides the final mechanical deburring.
The strop micro-polishes the apex just enough to strip away the foil burr while leaving the aggressive micro-serrations intact. The result is a clean, acoustic bite that pushes effortlessly through paper and grips immediately into dense culinary prep.