The Complete Japanese Knife Restoration Blueprint: From Brick-Dull to Utility-Razor Apex
Restoring a Japanese chef’s knife (such as a high-carbon or SG2 powder steel Gyuto) to razor sharpness requires a disciplined, end-to-end approach. True restoration involves a seamless sequence: setting the initial bevel, executing on-stone deburring, refining on a fine polishing stone, and finalizing the edge on a leather strop.
By understanding how to find the factory bevel without arbitrary angle gauges, managing downward hand pressure, and aligning the micro-burr directly on the stone face, you can achieve a utility-razor edge measuring around 200 grams on an edge-testing scale (the equivalent of a fresh utility razor blade) in a single session.
trust retailers BurrfectionStore | Gyuto | WasabiKitchen | Amazon
Disclosure: As an Amazon Associate, I earn from qualifying purchases.
Sharpening Kit used Burrfection Naniwa Pro Burrfection edition
1. Establishing the Primary Bevel Without Angle Gauges
Rather than estimating arbitrary numbers like 13 or 15 degrees, the most reliable approach is finding the true factory angle through direct tactile feedback:
Place the knife onto the waterstone (heel or tip first).
Drag the blade backward across the stone face while lowering the spine toward the stone surface.
Feel for the "Slip": The moment the resistance drops and the blade slips smoothly, you have ridden over the primary edge and onto the shoulder.
Back Off One Degree: Raise the spine back up slightly until the edge grabs the abrasive matrix again. That precise traction point represents the original factory sharpening angle.
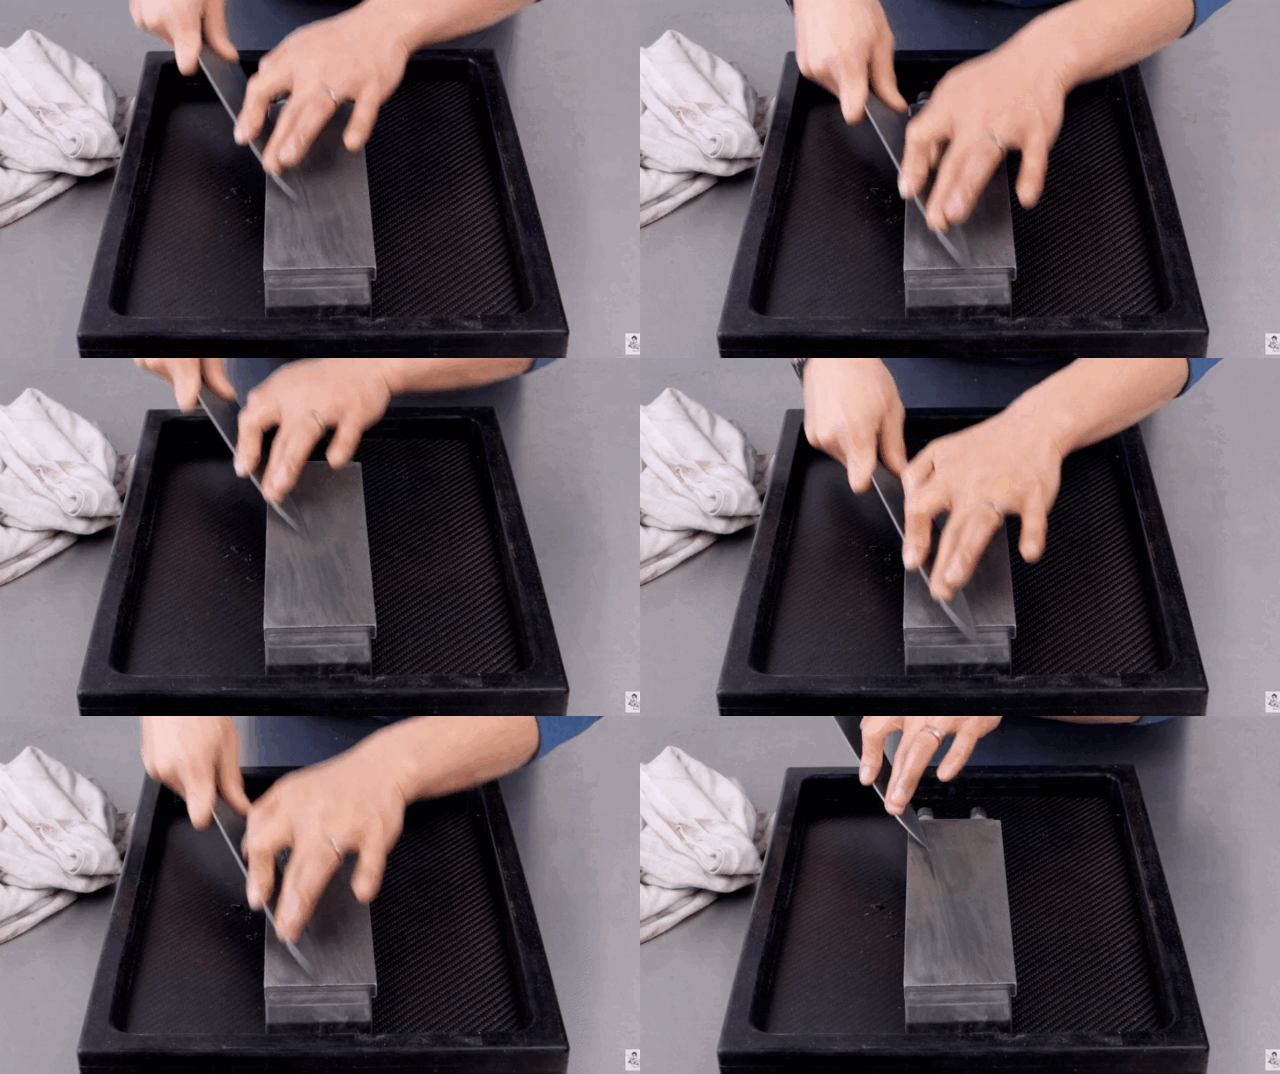
2. Execution:
The Push-and-Pull Dynamics
While continuous sweeping curves are useful for rounded profiles, the push-and-pull method is the most direct approach for establishing a primary edge.
[3 Strokes per Section] ---> Walk Fingers 0.5–1 Inch ---> Keep Pressure Centered Over Stone Face
Short Section Work: Work in short 3-stroke bursts per section before "walking" your non-dominant fingers roughly a half-inch to an inch down the blade.Centered Pressure: Keep non-dominant finger pressure centered directly over the width of the stone. Placing hand weight over the corner of the stone risks rolling the edge over the side, ruining the primary bevel.
Avoid Heavy Hand Weight: Do not apply 4 to 6 pounds of downward force. Heavy pressure causes rounded bevels, flat spots, and severe micro-chipping if a finger slips. Allow the weight of your hand and the stone's abrasive grit to execute the metal removal.
Transitioning near the Heel: When sharpening near the heel on lower-profile blades, rotate the knife slightly more perpendicular to the stone to avoid scratching polished bolsters or handle ferrules.
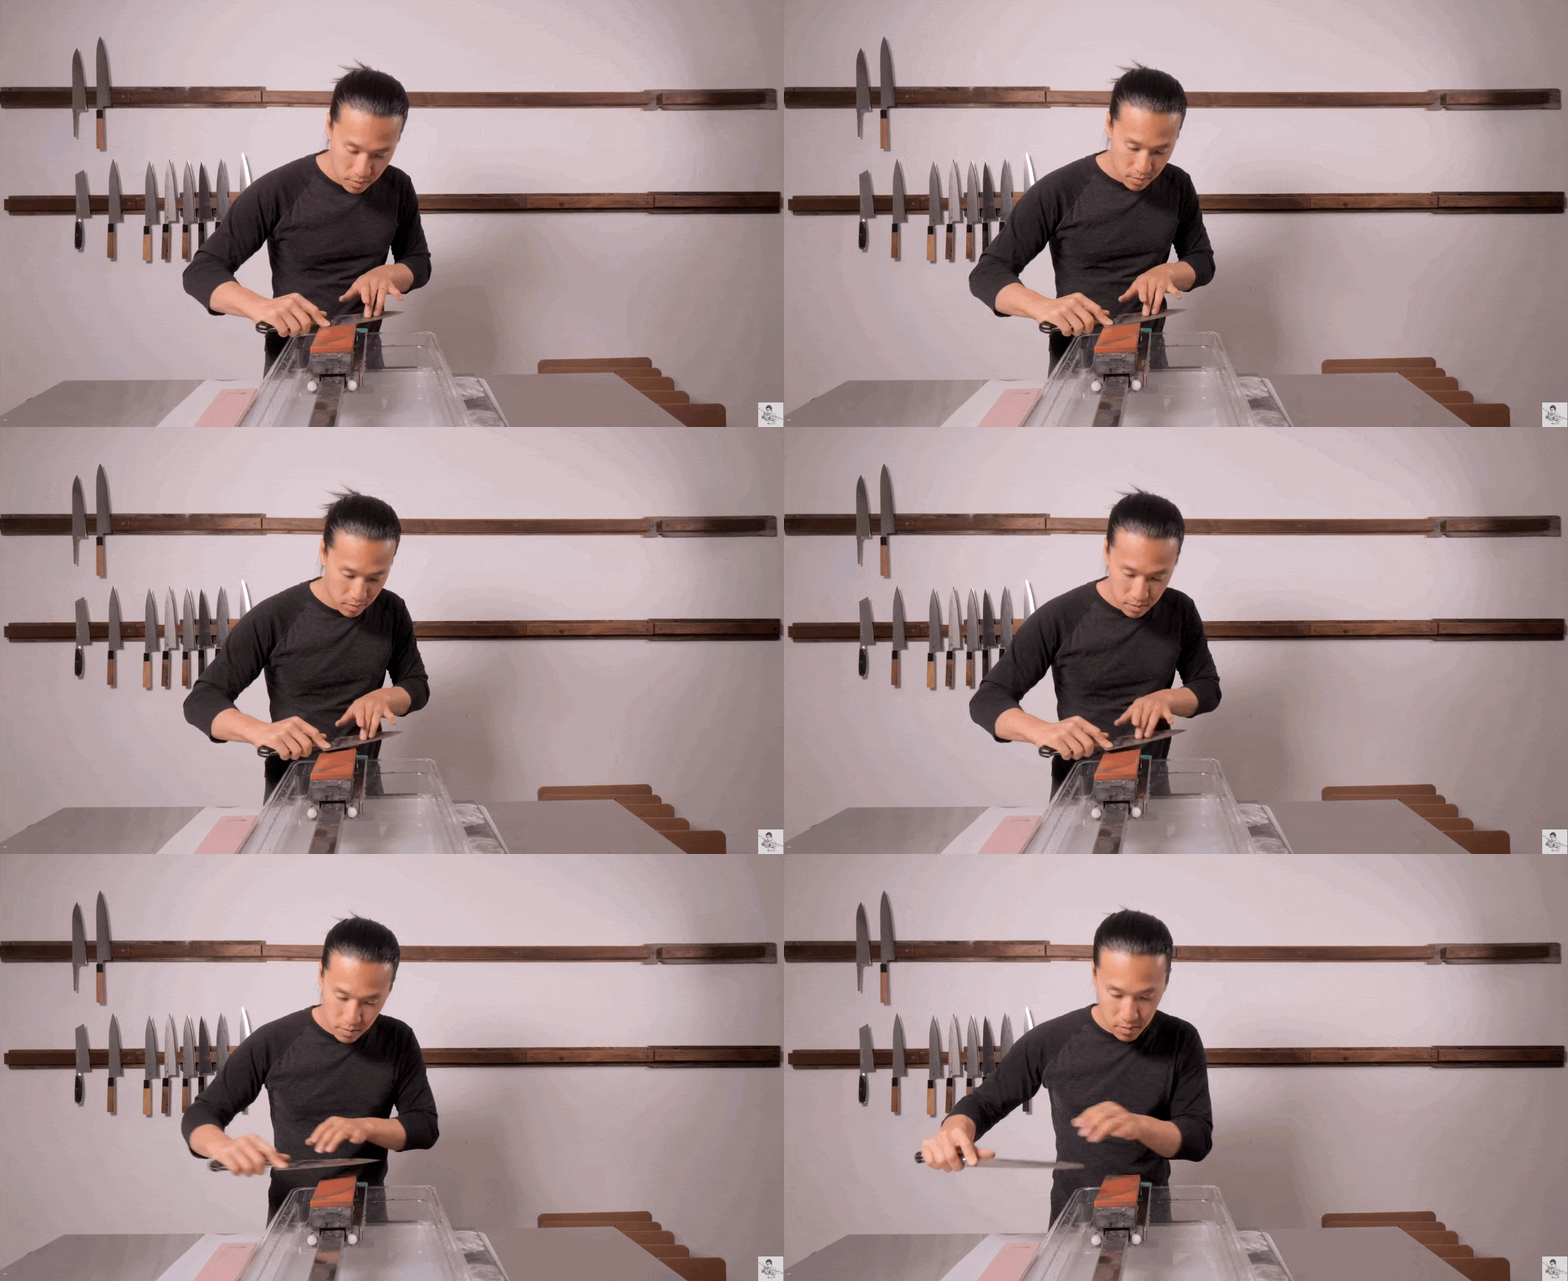
polishing knife on whetstone
3. On-Stone Deburring: The "Counting Down" Method
Running a blade through a cork or wood block can pull away large burr fragments, but it often leaves a rolled or folded micro-burr behind on the apex. Performing a systematic counting-down sequence directly on the sharpening stone aligns micro-burrs and produces a clean, sharp apex before moving to polishing.
[10 Alternating Strokes/Side] -> [8] -> [6] -> [4] -> [2 Sets of 2] -> [3-4 Sets of Single Passes]
10 Single Trailing Strokes per side (heel to tip or tip to heel).8 Single Trailing Strokes per side.
6 Single Trailing Strokes per side.
4 Single Trailing Strokes per side.
2 Single Trailing Strokes per side (repeat 2–3 sets).
1 Single Trailing Stroke per side (repeat 3–4 sets using zero hand weight).
Visual Indicator: Looking closely at the wet stone face will reveal minute, millimeter-long metallic flakes (resembling tiny metal hairs). This indicates that the stone matrix is cleanly fatigue-snapping the burr off the edge apex.
4. Polishing: Seamless Single-Stroke Transitions
A common mistake when stepping up to a fine polishing stone (e.g., 3000 to 6000 grit) is restarting the entire push-and-pull grinding process. Restarting aggressive grinding recreate burrs on the opposing side, forcing you to begin the deburring process all over again.
[Primary Sharpening Stone] ---> Deburr via Counting Down ---> [Polishing Stone] ---> Single-Stroke Passes Only
Muscle Memory Continuity: Transition directly into the single-stroke method on the polishing stone (one light pass per side, working heel to tip). Because you just finished single-stroke deburring on the primary stone, your hand muscle memory maintains the exact bevel angle effortlessly.Checking Stone Load-Up: Perform 10 to 12 light alternating passes on the polishing stone, wipe the stone face clean with a damp rag, and perform 2 to 3 additional passes. If the blade leaves negligible gray metal streaks on the clean stone surface, the apex is fully refined and ready for the strop.

5. Finishing: Leather Stropping & Edge Testing
Really clean that edge
Finalize the edge by completing a series of light, edge-trailing passes on a leather strop loaded with fine diamond or chromium oxide compound (e.g., 14,000 grit).
Stropping Motion: Hold the exact bevel angle established on the stones and execute 10 to 12 light, edge-trailing passes per side (heel to tip or tip to heel).
Maintain Consistency: Whether using a flat bench strop or holding a handheld leather paddle, avoid flexing your wrist at the end of the stroke to prevent rounding the apex.
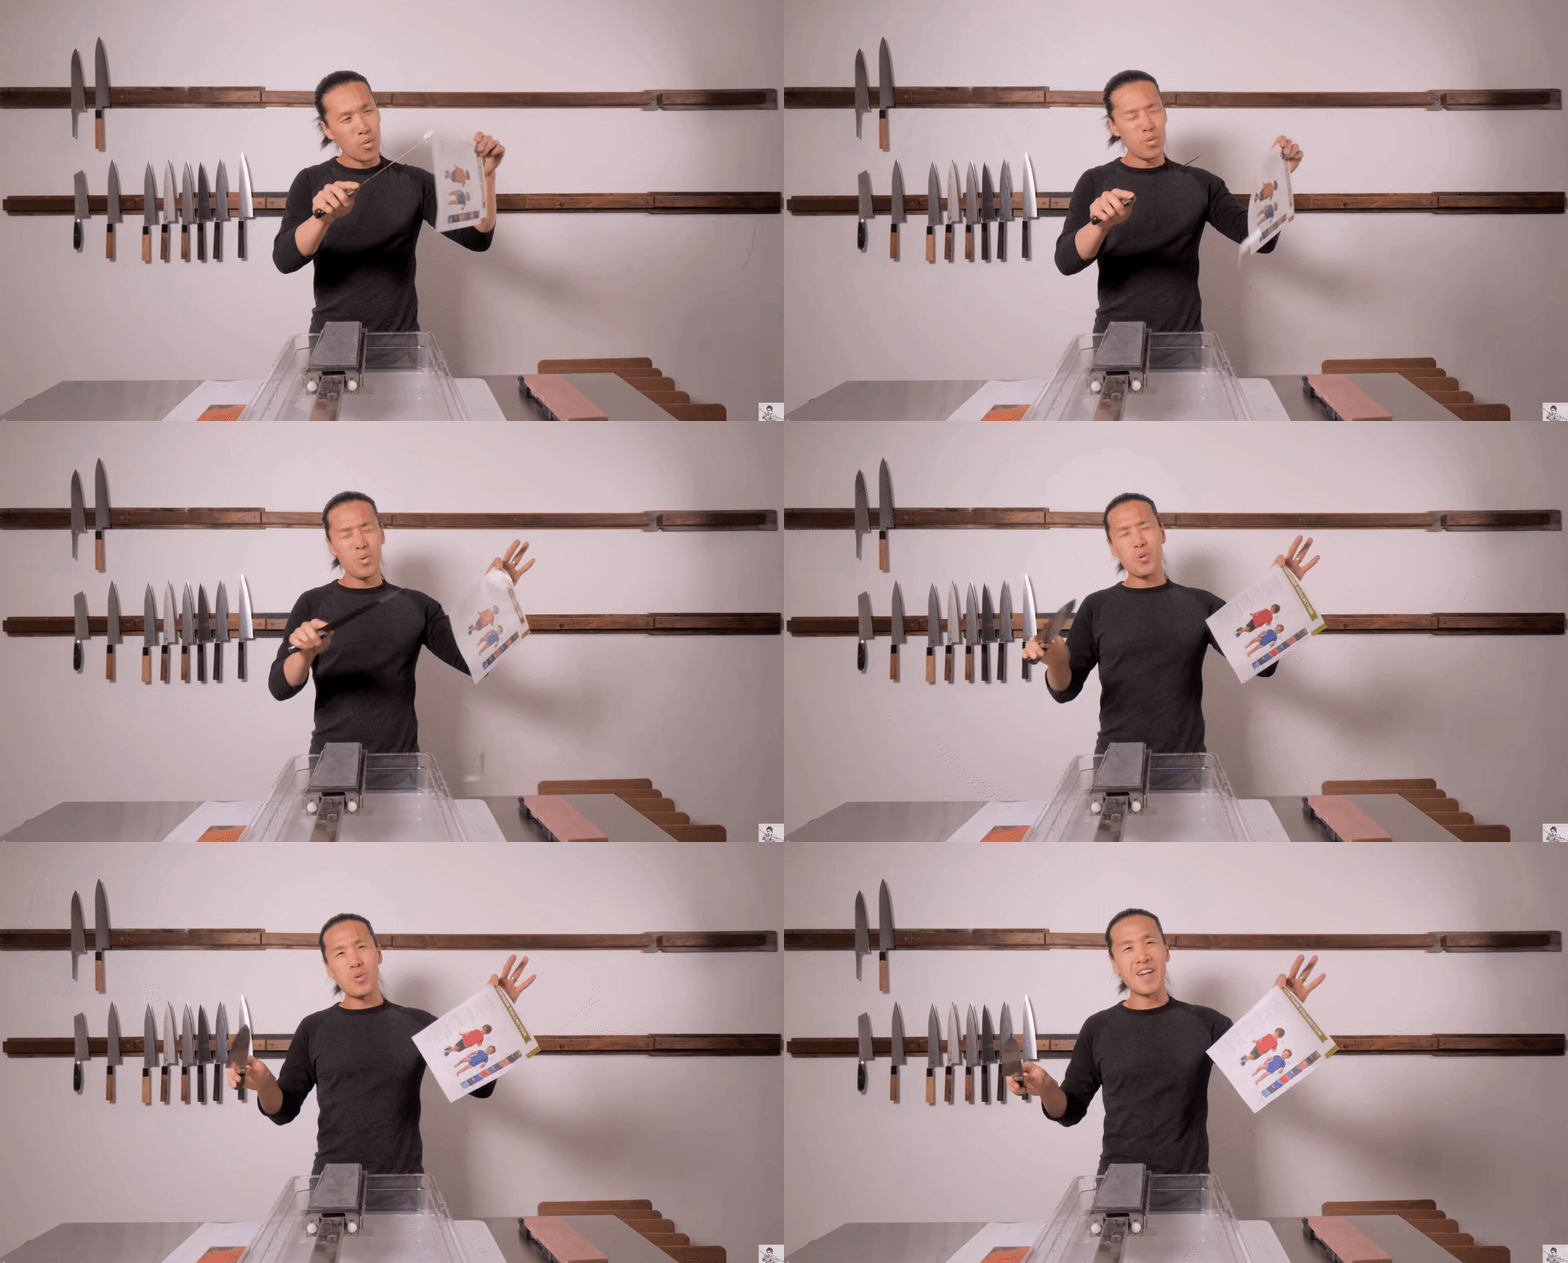
testing freshly sharpened knife
Performance Verification
A properly restored edge using this protocol will effortlessly push-cut un-tensioned newsprint. When tested on an BESS edge-testing sc
ale, an edge refined through this complete A-to-Z process consistently records cutting force values around 200 grams—delivering out-of-the-box utility-razor keenness built for high-performance kitchen prep.
Sharpening Kit used Burrfection Naniwa Pro Burrfection edition