The slicing performance of a Japanese gyuto is not merely an inherent property of its steel; it is the physical result of apex geometry, abrasive grit progression, and tactile angle consistency on the waterstone bench.
When sharpening an iconic, flat-profile gyuto like the Masamoto KS, standard amateur sharpening advice—such as balancing coins on a blade or relying on fixed angle wedges—fails. Precision cutlery demands a dynamic understanding of hand architecture, directional pressure vectoring, and microscopic burr management.
Mastering the bench mechanics required to take a premium Japanese blade from a dull baseline to a sub-150g BESS surgical edge requires executing a repeatable, tactile sharpening protocol.
trust retailers BurrfectionStore | Gyuto | WasabiKitchen | Amazon
Disclosure: As an Amazon Associate, I earn from qualifying purchases.
1. Profile Dictates Technique: Push-and-Pull vs. The Crescent Sweep
Before steel ever touches an abrasive stone, the blade's profile determines the mechanical stroke. In modern cutlery, blade roads fall into two primary silhouettes:
[ PROFILE GEOMETRY & STROKE SELECTION ]

1. The Flat-Belly Profile (e.g., Masamoto KS Gyuto, French Sabatier):
   ├── Edge Road: Extended flat section extending from the heel across the mid-blade.
   └── Selected Stroke: Segmented Push-and-Pull.
       *The edge is divided into linear overlapping zones ground in straight cycles.

2. The Sweeping-Belly Profile (e.g., Zwilling Bob Kramer, Heavy German Chefs):
   ├── Edge Road: Continuous curvature from heel to tip with an aggressive forward belly.
   └── Selected Stroke: Continuous Crescent Sweep.
       *The wrist rotates smoothly through a curved arc to maintain bevel engagement.
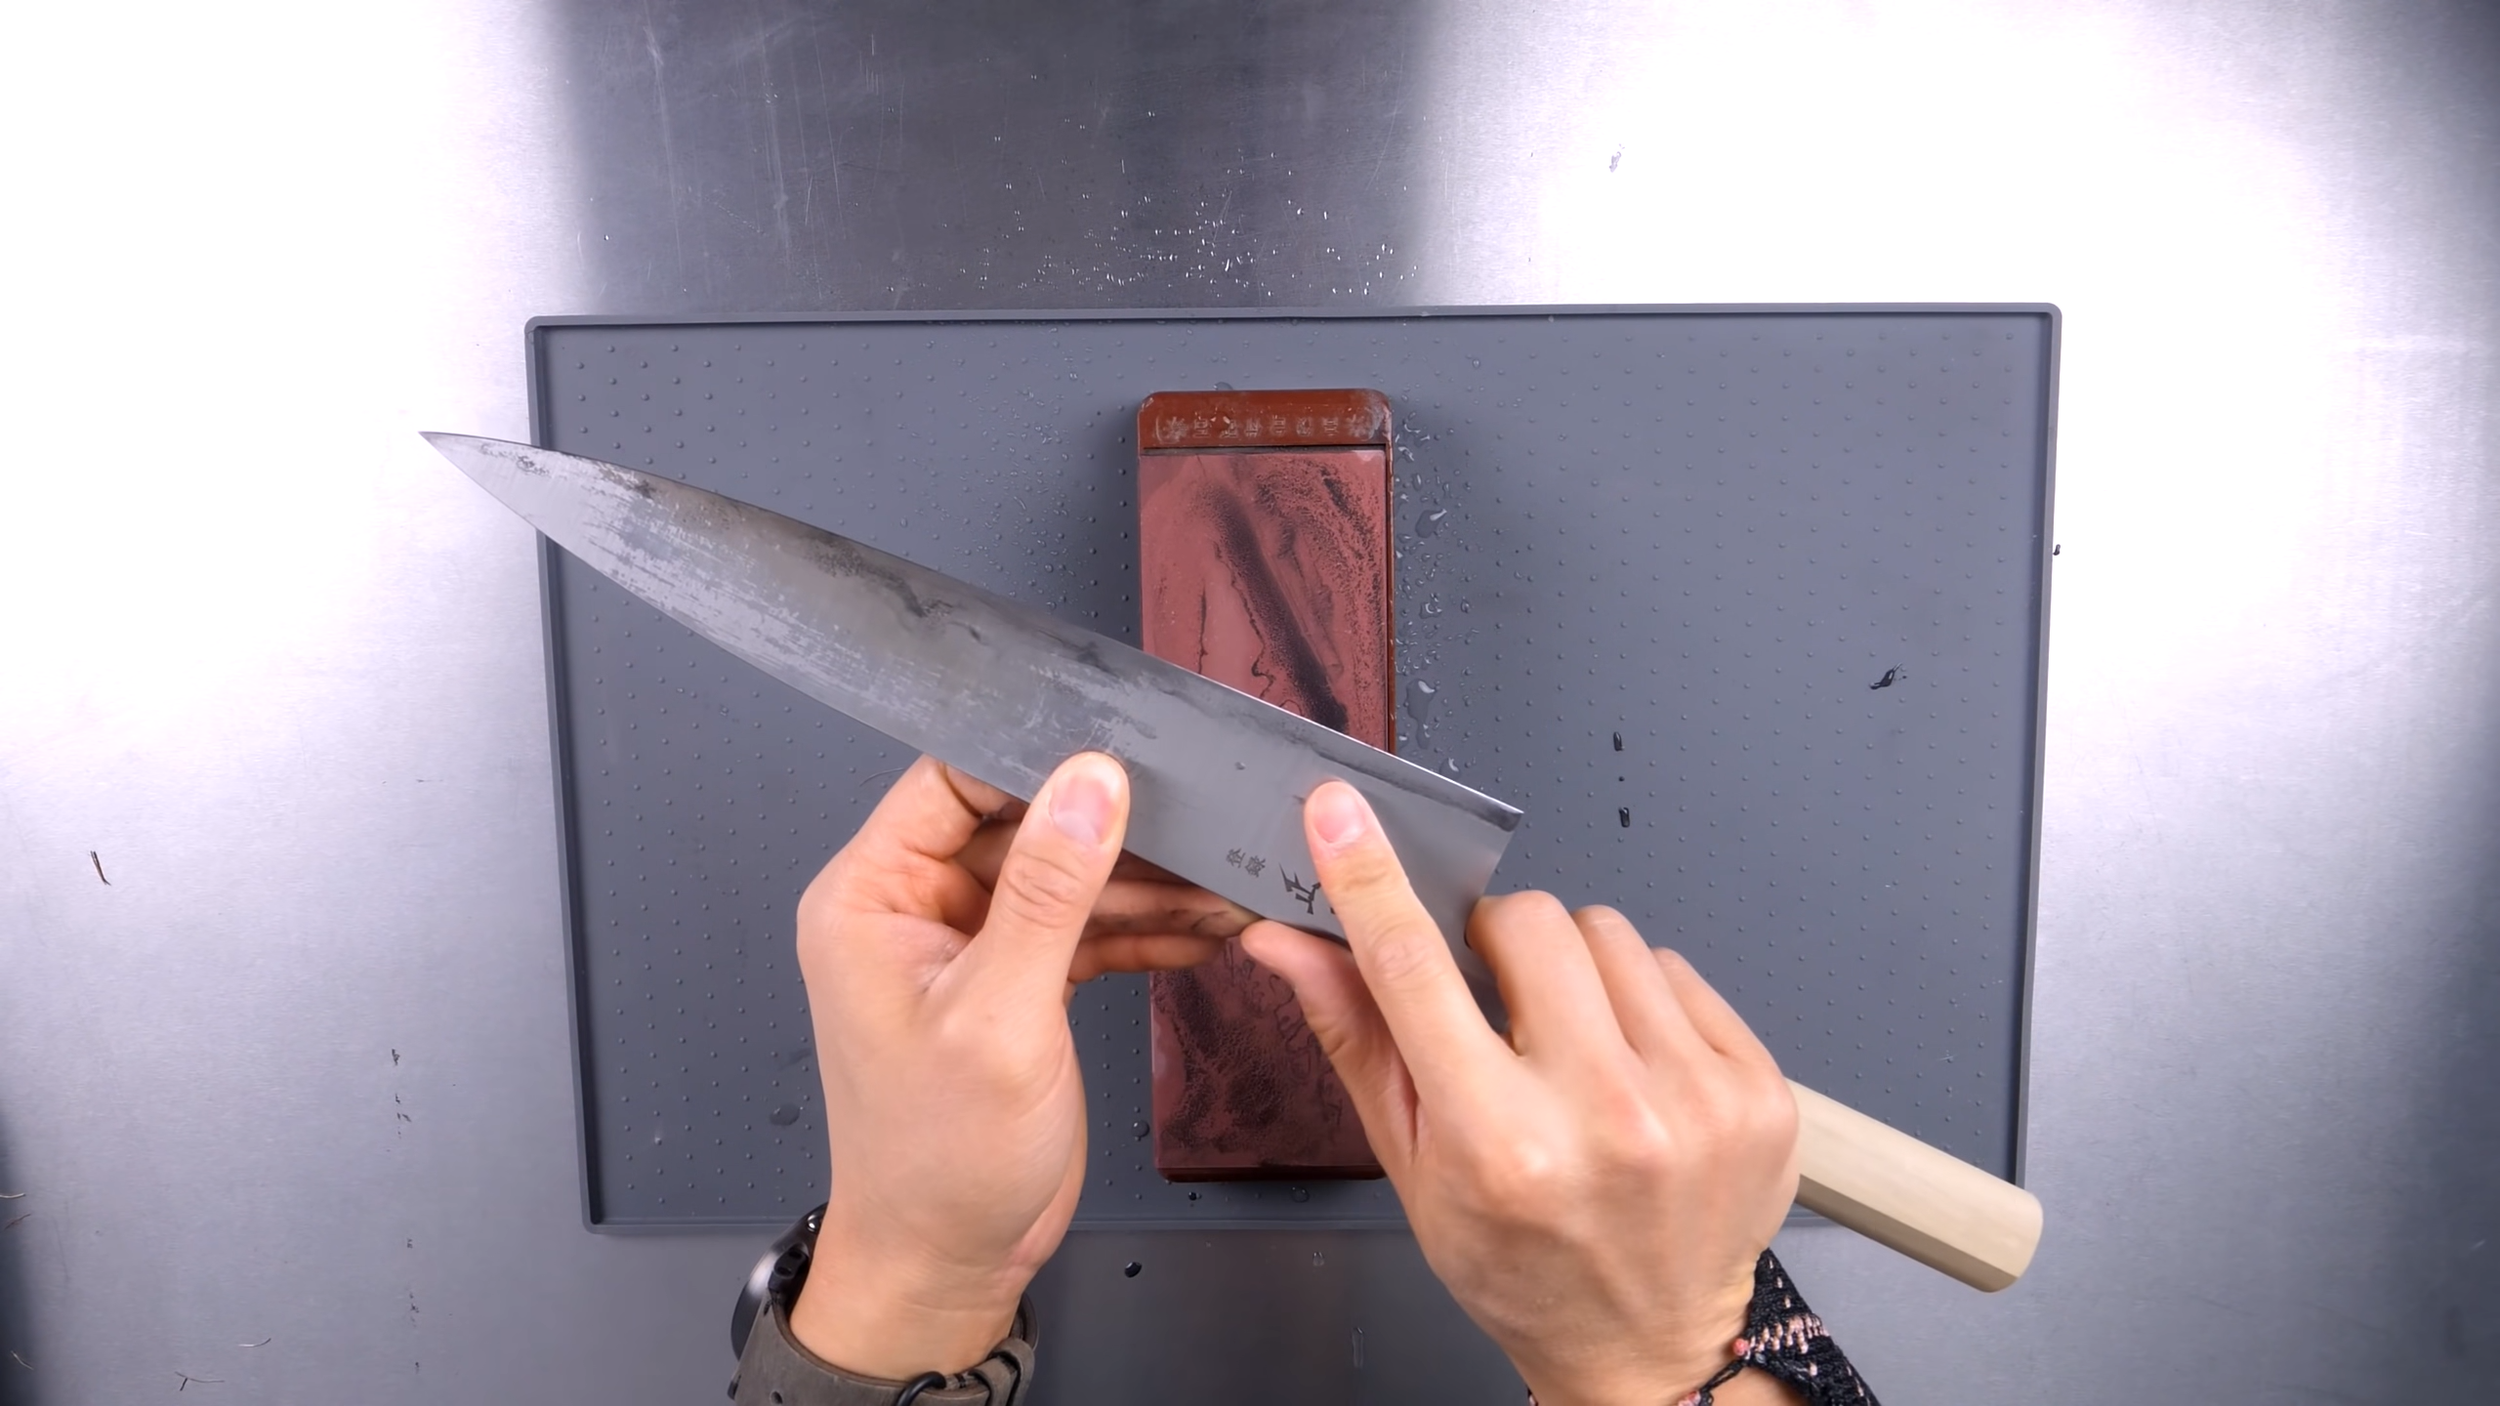
Attempting to sharpen a flat-profile gyuto like the Masamoto KS with a sweeping, arcing motion rounds the flat spot along the heel, destroying the knife's ability to make dead-flat contact against an end-grain cutting board.
For the Masamoto KS, the segmented push-and-pull technique is mandatory: the blade is worked in distinct, overlapping horizontal sections, holding the facet flat against the stone before advancing along the blade road.
2. Grip Architecture: Biomechanics of Angle Stability
Holding a consistent 15-degree bevel angle across a 240mm blade is an exercise in biomechanics. Hand stability changes completely depending on which side of the knife is facing the stone.
RIGHT-SIDE GRIP (Face A)               LEFT-SIDE GRIP (Face B)
       [ Spine ]                              [ Spine ]
      /         \                            /         \
  Thumb         Index                    Index         Thumb
 (Near Apex)   (Along Spine)            (On Heel)     (On Spine)
      \         /                            \         /
   Middle on Choil                        Ring/Pinky Wrapped
The Right-Side Bevel Grip (Primary Side)
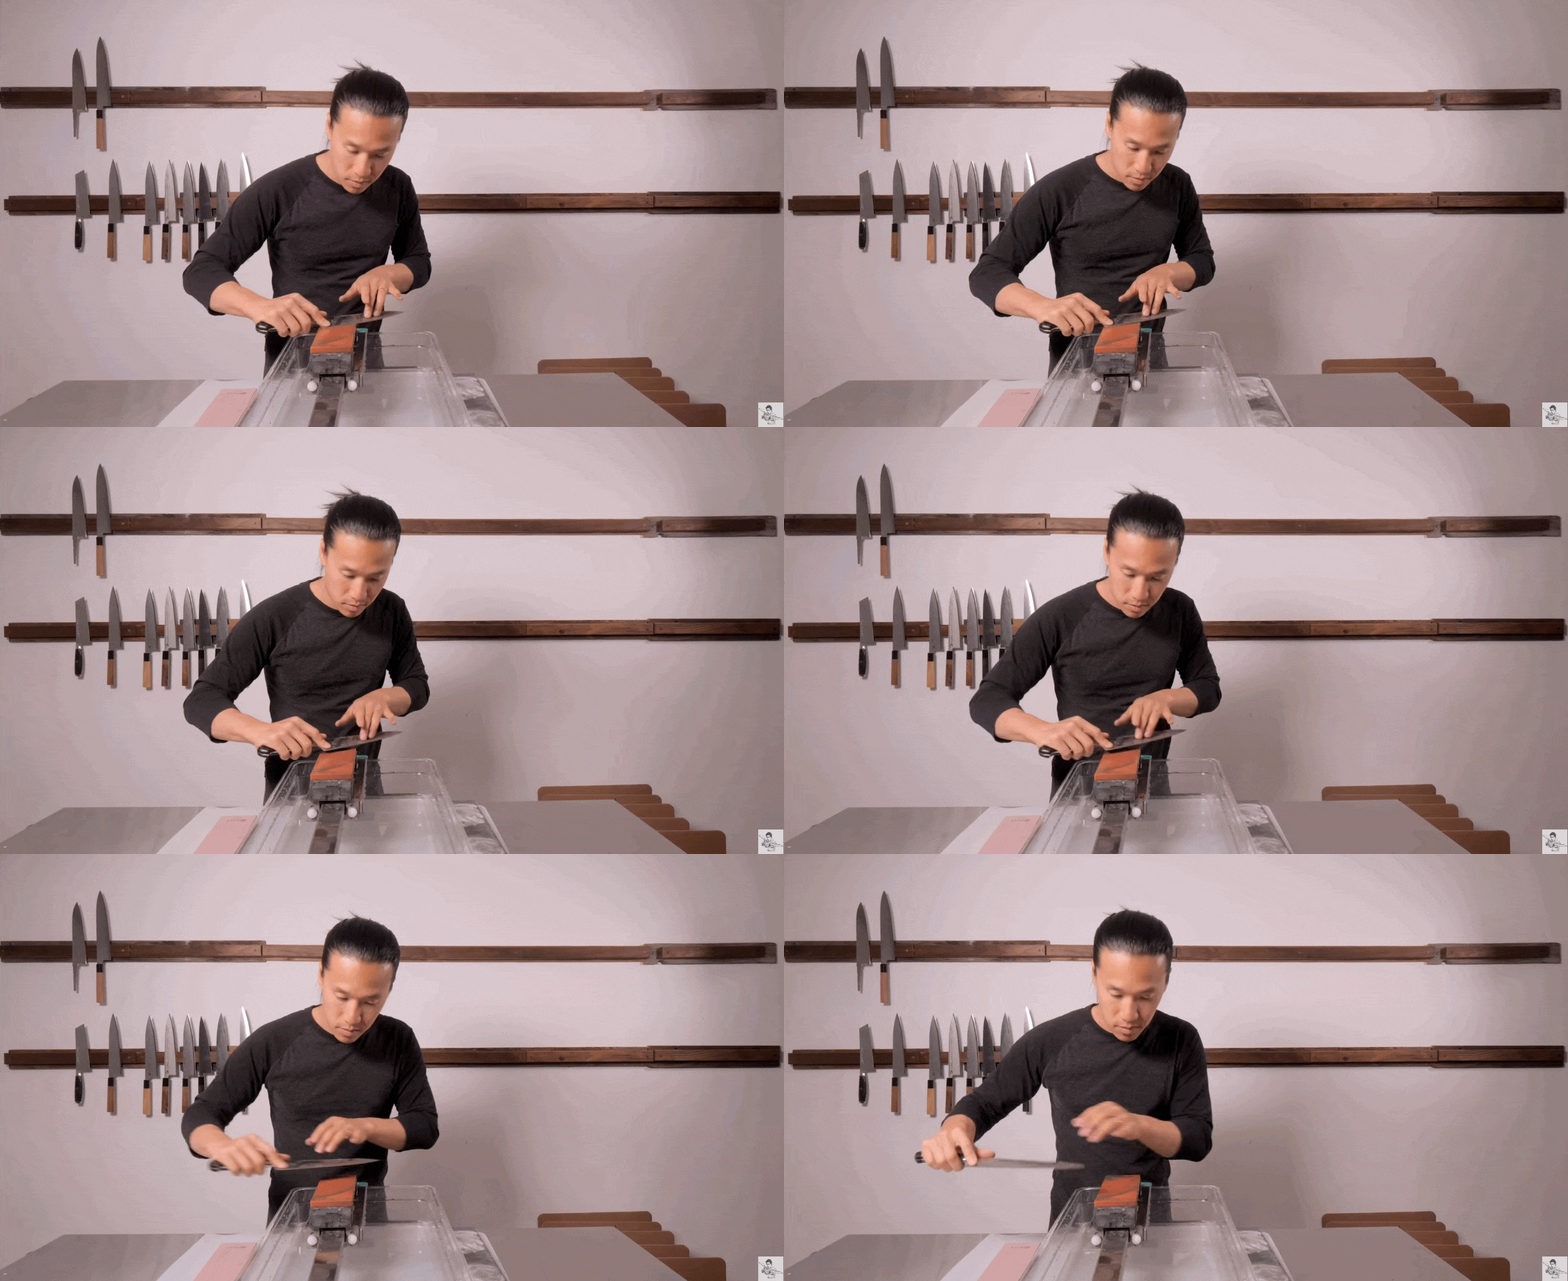
The Choil Anchor: Position your dominant middle finger directly in the choil (the curved neck where the blade meets the handle). This creates an unyielding physical pivot point.
The Thumb Index: Lay your dominant thumb flat against the blade face, positioning it as close to the cutting edge as possible without overhanging the apex. Pinning the thumb near the heel bevel is non-negotiable; failing to anchor the thumb here lifts the heel off the abrasive, leaving the last two inches of the knife dull.
The Index Guide: Drape the index finger along the top third of the spine to steady lateral wobble. Relax the wrist: rigid, tense joints introduce micro-twisting during the stroke, convexing the bevel unintentionally.
The Left-Side Bevel Grip (Reverse Side)
When flipping the knife to work the opposite bevel, the hand position must invert:
Place the index finger firmly against the heel facet.
Wrap the middle, ring, and pinky fingers securely around the handle.
Rest the thumb flat against the upper spine for counter-leverage.
Walking the Non-Dominant Guide Hand
Your non-dominant hand provides the downward cutting pressure. Place two or three fingertips flat on the blade face, roughly one-half inch behind the cutting edge:
Keep Pressure Centered Over the Stone: As you advance the knife from tip to heel, physically "walk" your guide fingers down the blade so that downward pressure is always applied directly over the middle of the waterstone.
The Corner-Grind Hazard: If your guide fingers remain anchored at the tip while your dominant hand pushes the heel across the stone, the unsupported center will tilt downward and strike the sharp 90-degree corner of the waterstone, gouging the stone and chipping the blade's cutting edge.
3. Finding the Factory Bevel: The Dynamic Drag Method
Pre-set angle wedges and plastic guide clips create artificial muscle memory. To match a factory edge precisely, rely on acoustic and tactile feedback via the Dynamic Drag Method.
[ THE DYNAMIC DRAG METHOD ]

Step 1: Place blade on stone at an exaggerated ~20° angle.
Step 2: Drag the blade backward at a slow, deliberate pace.
Step 3: Gradually lower the spine toward the stone while maintaining backward drag.
Step 4: The exact instant the edge "slips" or skates smoothly, the shoulder has cleared.
Step 5: Back off 1° upward. You are now seated perfectly on the primary factory apex.
Place the blade flat onto the stone at a steep, exaggerated angle of roughly 20 degrees.
Slowly drag the knife backward (edge-trailing) across the wet surface.
As the knife moves, slowly lower the height of the spine toward the stone surface.
The moment the bevel transitions from riding the abrasive shoulder to dropping flush onto the apex facet, you will feel an immediate tactile "slip"—the friction drops and the stroke smooths out.
Back the spine upward by a single degree. You are now locked directly onto the factory angle (typically between 15° and 17° on high-end Japanese cutlery), ensuring maximum steel removal efficiency without widening the secondary shoulder.
4. Pressure Vectoring & Burr Mechanics
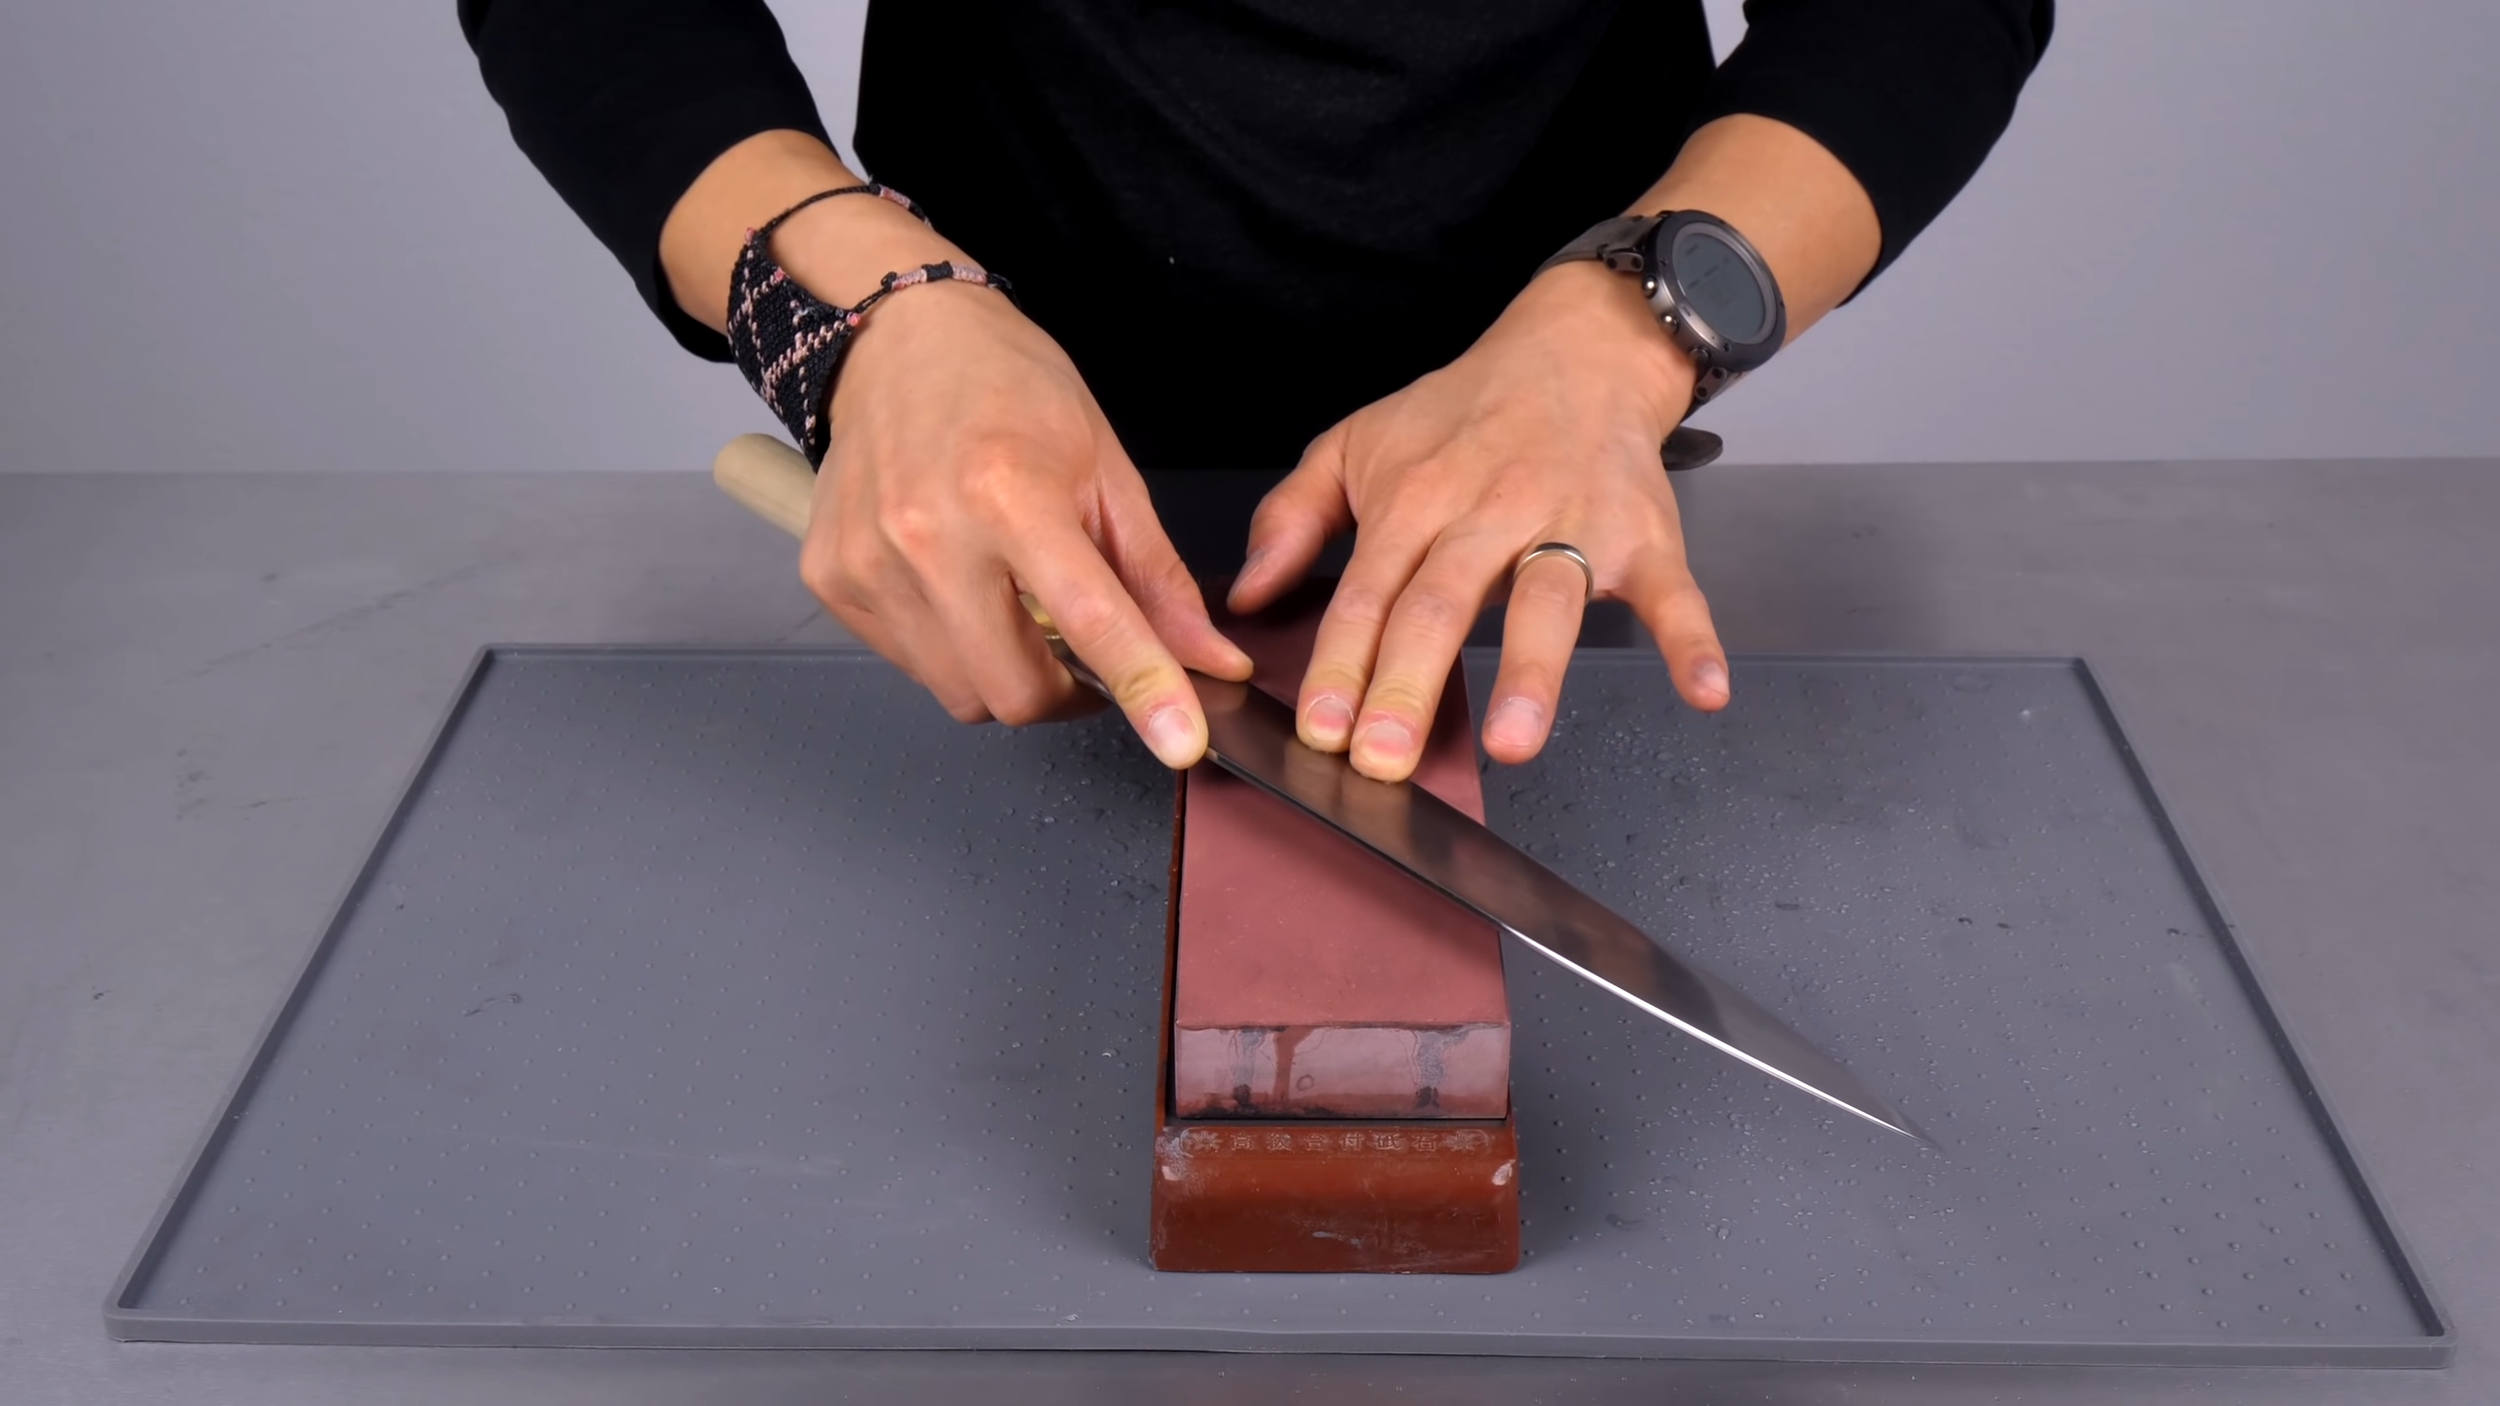
The most debated aspect of waterstone sharpening is directional pressure application. On high-hardness Japanese steels—like the Hitachi White #2 (Shirogami) found in the Masamoto KS—pressure must be applied exclusively on the edge-trailing stroke.
PRESSURE VECTORS ACROSS BEVEL FACES

Right Side (Cutting edge facing toward you):
  Push Away (Edge-Leading)  ──► ZERO PRESSURE (Float the blade)
  Pull In   (Edge-Trailing) ──► CONTROLLED DOWNWARD FORCE (Cut the steel)

Left Side (Cutting edge facing away from you):
  Push Away (Edge-Trailing) ──► CONTROLLED DOWNWARD FORCE (Cut the steel)
  Pull In   (Edge-Leading)  ──► ZERO PRESSURE (Float the blade)
Applying heavy downward force on an edge-leading stroke into a synthetic waterstone risks digging the microscopic apex into the abrasive matrix, creating micro-chips and loading the stone prematurely. Pressure on the trailing phase allows the diamond or aluminum oxide grains to abrade steel cleanly along the flank.
Diagnosing the Burr
To determine when you have completed a zone, stop grinding and check for burr development.
Lightly sweep your dry thumb pad horizontally from the spine down past the cutting edge (never run fingers parallel along the length of the apex).
A properly formed micro-burr does not feel like an aggressive jagged wire. On fine Japanese steel, it feels like a microscopic ridge—comparable to the sensation of sliding your finger across a single strand of hair resting on plate glass.
Once that fine, uniform wire is continuous from the choil to the very tip, flip the knife and repeat the process on the reverse bevel until the burr flips to the opposite side.
5. Deburring Protocols: From Bench Stone to Loaded Strop
Forming a burr is only half the battle; cleanly detaching it without tearing the fresh microscopic teeth out of the apex is what separates an average edge from a hair-splitting one.
THE PROGRESSIVE DEBURRING PIPELINE

[ Stone Deburring ]       ──► Ultra-light, alternating single passes on waterstone.
          │                   (Reduces wire burr to microscopic foil)
          ▼
[ Substrate Shearing ]    ──► End-grain hardwood or firm 5mm vegetable-tanned leather.
          │                   (Physically tears stubborn foil away from apex)
          ▼
[ Loaded Micro-Strop ]    ──► 10–20 featherweight passes on 9,000-grit compound.
                              (Refines micro-convexity and polishes edge teeth)
1. In-Stone Deburring
Return to your medium waterstone (e.g., 1,000-grit). Instead of zone grinding, execute full-length, heel-to-tip trailing strokes under zero hand pressure—letting only the deadweight of the knife contact the stone. Perform one pass on the right, flip, perform one pass on the left, and alternate for two to three cycles. This weakens and folds the burr until it begins to sever.
2. End-Grain and Heavy Leather Shearing
To mechanically strip residual foil burr, draw the apex through a block of end-grain hardwood or lightly across a piece of dense, 4mm to 5mm thick vegetable-tanned leather. Thin, flexible strops will wrap around the cutting edge and round off your fresh apex; thick, hard-backed leather provides the structural resistance needed to shear the burr cleanly.
3. The Loaded Strop (9,000 Grit Finish)
To achieve ultimate refinement, finish on a smooth leather bench strop loaded with a sub-micron abrasive (such as a 9,000-grit chromium oxide or aluminum oxide compound):
Match your sharpening angle precisely.
Draw the blade backward from heel to tip using light, even strokes.
Execute 10 to 15 passes per side. The compound strips residual micro-swarf and burnishes the apex into a mirror-polished shearing tool.
Bench Diagnostics: The BESS Sharpness Standard
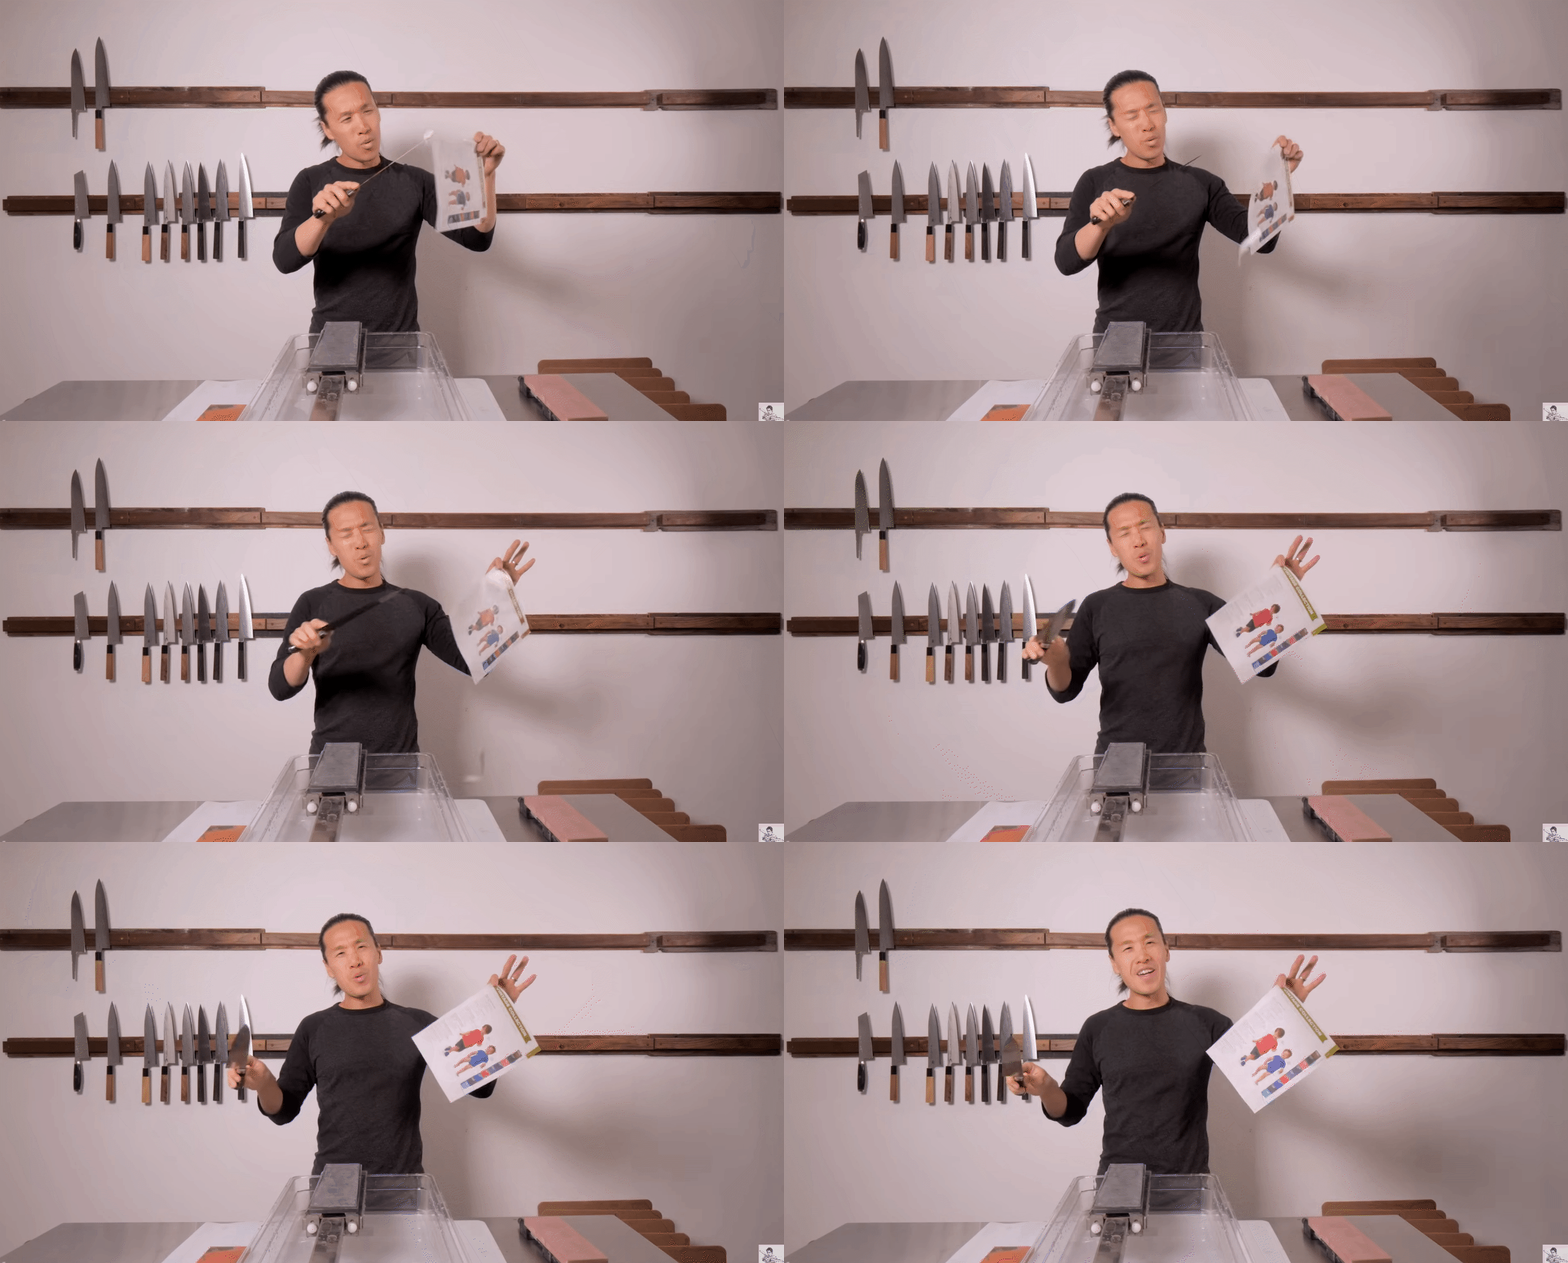
Quantifying the result on an Edge On Up BESS Sharpness Tester provides an objective evaluation of the edge:
+--------------------------------------------------------------------------+
| SHARPNESS SPECTRUM (BESS FORCE IN GRAMS TO CUT TEST FILAMENT)           |
|                                                                          |
| 300g – 400g : Standard utility kitchen knife / dull working edge         |
| 200g – 250g : Typical out-of-the-box factory sharpness                   |
| 150g – 200g : High-grade Japanese factory edge                          |
| 100g – 150g : Professional hand-sharpened waterstone apex                |
|  50g – 100g : Surgical scalpel / elite straight-razor territory         |
+--------------------------------------------------------------------------+
A Masamoto KS sharpened using this segmented trailing-stroke protocol and finished on a loaded strop routinely tests at 145g BESS. This score places the blade in surgical sharpness territory, requiring roughly half the downward force of an average factory knife to initiate a clean push-cut through light newsprint or delicate produce skins.
The Sharpening Clean-Up Protocol
Once the edge has achieved its final polish, post-sharpening sanitation is essential.
Abrasive slurry contains spent aluminum oxide binders, fractured silicon carbides, and microscopic steel swarf. Furthermore, petroleum or wax-based stropping compounds can leave residual films along the blade road that should never come into contact with food.
Always wash the sharpened blade under warm water with mild dish soap and a soft non-abrasive sponge, wiping edge-away from the spine down. Dry the knife immediately with a lint-free microfiber towel to protect reactive high-carbon steels like White #2 from flash rusting before sliding it into its saya.