Mastering Single-Stone Sharpening: A Razor Edge on a Medium-Grit Waterstone
A common misconception in the world of kitchen cutlery is that achieving a truly sharp, functional edge requires an elaborate progression of waterstones, high-grit polishing blocks, and leather strops loaded with abrasives.
In reality, a single, high-quality medium-grit stone—specifically an 800-grit splash-and-go—can completely restore a dull chef's knife to a sharp, paper-slicing edge without relying on secondary stropping substrates like compound leather or newspaper.
By executing accurate freehand geometry, managing edge-trailing pressure, and utilizing an on-stone burr-deburring technique, a medium-grit stone provides all the cutting speed and apex refinement necessary for daily kitchen prep.
Disclosure: As an Amazon Associate, I earn from qualifying purchases.
Burrfection sharpening kit available here
The Equipment: A Workhorse Combination
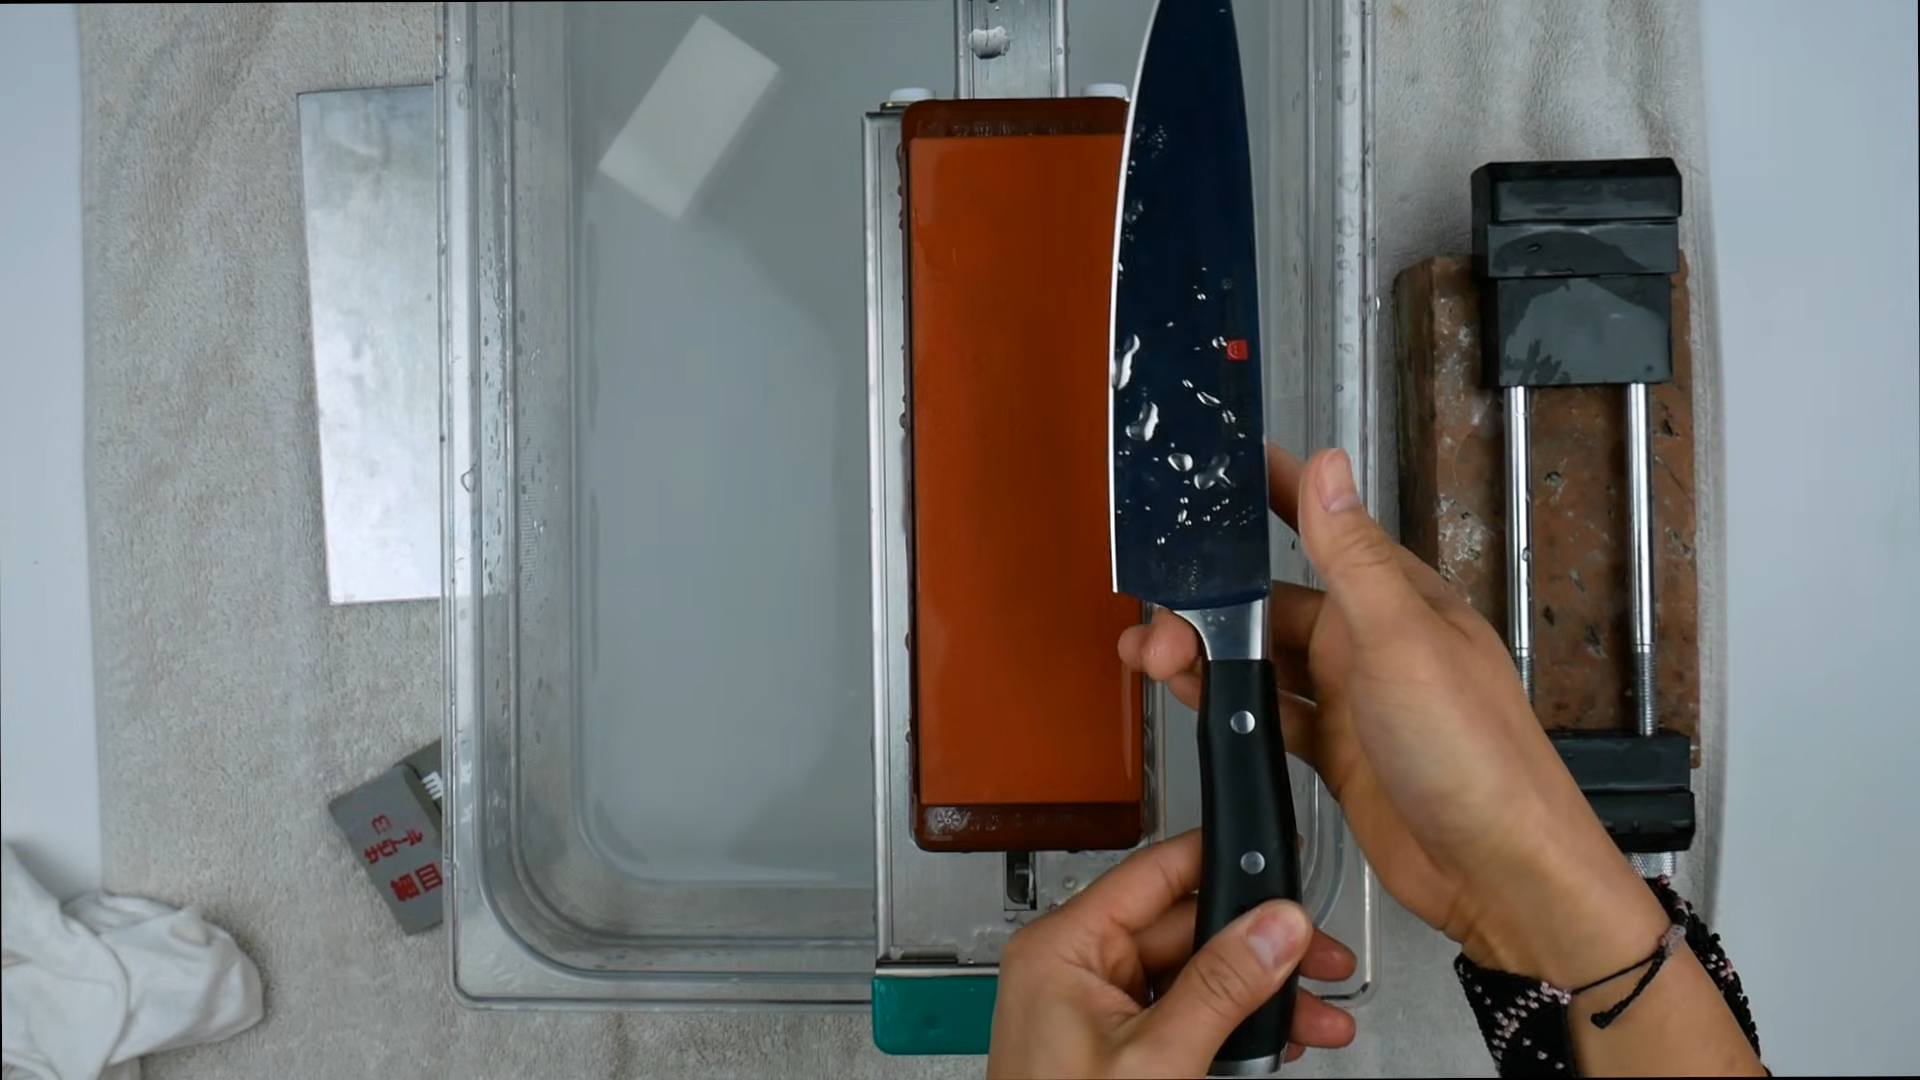
To demonstrate a single-stone restoration, we paired a standard Western classic with a high-performance synthetic ceramic block:
The Knife: A Wüsthof Ikon Classic Chef's Knife (German X50CrMoV15 stainless steel, ~58 HRC). This blade featured a folded, non-functional burr from a prior coarse 120-grit reset, leaving it dull.
The Stone: The Naniwa Chosera 800 (also branded under Naniwa's Professional line). A dense, fast-cutting splash-and-go synthetic stone that requires no pre-soaking—simply splash with water and begin.
Fundamental Mechanics:
Hand Positioning & Ergonomics
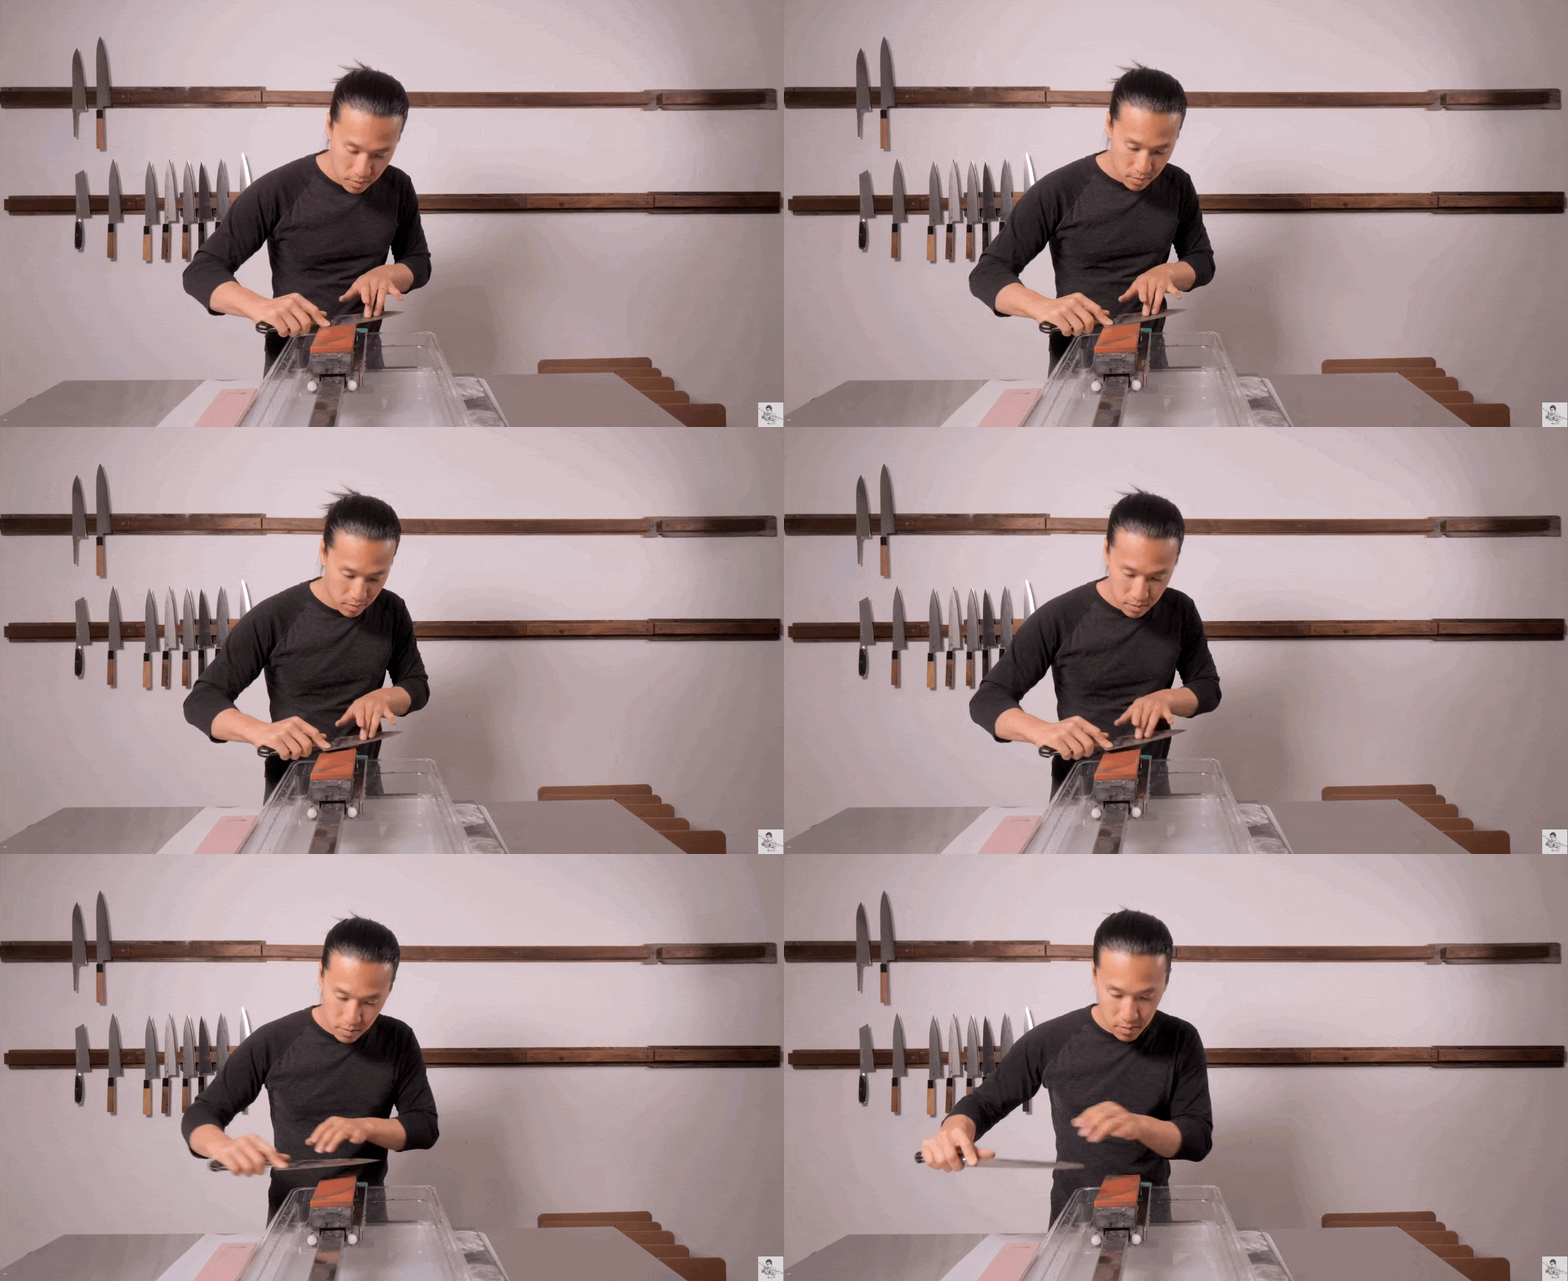
Freehand sharpening relies entirely on consistent hand placement to maintain a steady angle relative to the stone face.

Sharpening the Right Bevel
Choil Anchor: Place your middle finger near the choil or neck of the blade, sliding it as far up toward the heel as comfortable.
Bottom-Edge Pinning: Bring your thumb down to rest directly on the primary bevel near the heel to pin the blade against the stone.
Spine Stabilization: Roll your index finger loosely over the top of the blade spine to act as a stabilizing guide.

Sharpening the Left Bevel
Primary Control: Index finger applies direct downward pressure onto the primary bevel near the cutting edge.
Angle Control: The thumb rests flat against the spine of the blade, controlling wrist roll and edge elevation.
Finding the Bevel Angle Without Measuring Tools
Forget rigid 15-degree or 18-degree formulas. Fixed numbers are unreliable when working on knives with variable factory grinds. Instead, establish the correct angle entirely by tactile traction:
Lay the blade spine flat against the stone face.
Gently raise the spine a few millimeters while pulling the knife towards you across the stone.
Feel for Traction: As you raise the spine, you will feel a distinct increase in physical friction when the primary edge bevel flushes flat against the stone.
Correction: If the blade feels as though it is slipping smoothly over the face without resistance, the spine is raised too high (riding the secondary bevel). Lower the spine slightly until the edge grabs the stone's abrasive matrix.
For beginner safety, maintain an approach angle near 45 degrees across the stone rather than sweeping perpendicular to it. Perpendicular strokes generate high friction, increasing the risk of digging into softer stone surfaces.
Pressure Management: The Edge-Trailing Rule
Gouging stones or producing uneven bevels almost always stems from applying aggressive force during edge-leading strokes (where the cutting edge moves forward into the abrasive).
[Edge-Trailing Stroke] ---> Apply light pressure (1 to 2 lbs)
[Edge-Leading Stroke] ---> Release ALL pressure (Glide light over stone)
Push/Pull Dynamics: Apply approximately one to two pounds of force strictly on edge-trailing strokes (pushing the spine away or pulling the spine back, depending on blade orientation).Zero Edge-Leading Force: When the sharp edge moves toward the stone face, lift hand weight off the blade entirely. Allowing weight to fall on an edge-leading pass can cause the hard steel to slice or gouge into the waterstone matrix.
Flexing for Curved Geometry: To maintain the curved profile (belly) near the tip of a chef's knife without creating flat spots, keep your wrist relaxed. Allow the wrist to flex slightly upward as the stroke transitions toward the tip, allowing the edge radius to follow its natural curve along the stone.
The Single-Stone Deburring Protocol
Stroke from heel to tip in one smooth motion
Once a continuous micro-burr—a slight, microscopic wire-edge lip—is detected along the entire length of the non-sharpened side, switch directly to on-stone stropping to clean up the apex.
Stropping directly on a medium-grit waterstone works by systematically flexing the wire burr back and forth until it fatigue-snaps cleanly off the apex, bringing the burr upright and removing it without needing a secondary leather or canvas strop.
Step-by-Step On-Stone Stropping Sequence
Keep the Stone Wet: Swooping stropping passes pull water off the stone face quickly. Keep the surface lubricated between sets.
High-Pass Alternating Sets: Begin with long, sweeping edge-trailing passes across the entire length of the blade, working from heel to tip.
Descending Repetition Pattern:
12 Alternating Passes per side (Left / Right)
10 Alternating Passes per side
8 Alternating Passes per side
6 Alternating Passes per side
4 Alternating Passes per side
2 Alternating Passes per side
Finish with 4 to 5 single alternating trailing passes using only the weight of the knife itself.
test your knife’s edge
The Final Result: Working Utility vs. Polish
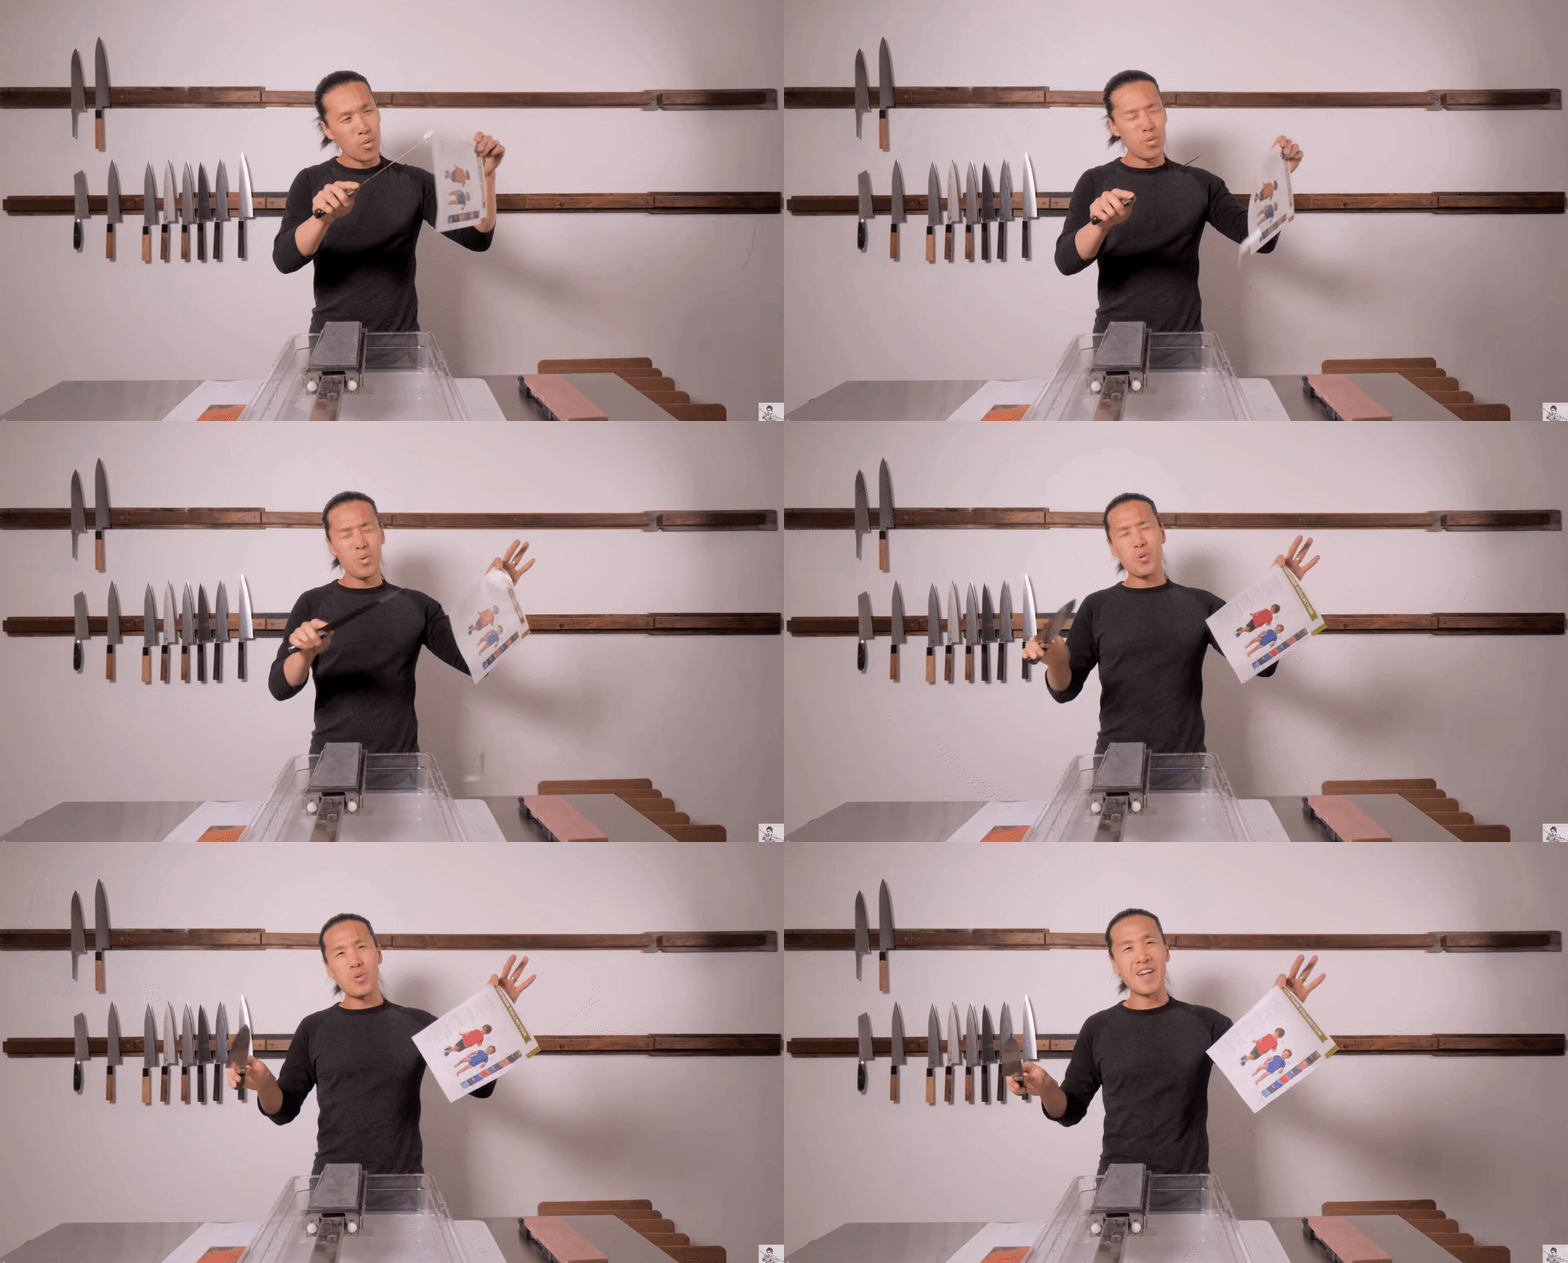
Slicing through newsprint confirms the edge quality: the Chosera 800 leaves a clean, crisp cutting edge with an aggressive, tactile "bite."
While an 800-grit stone produces a matte, Kasumi-style satin finish rather than the reflective mirror polish achieved on 3000-to-6000 grit stones, its functional sharpness is undeniable. For general kitchen prep, a single medium-grit waterstone—executed with proper technique—delivers an exceptionally keen edge with no extra equipment required.