How to Sharpen a Fillet Knife on a Whetstone (Shun Classic Boning/Fillet)
A fillet knife curved from tip to tip and an 80/20 bevel: how I sharpen it on a single 3000-grit stone and remove the burr without a strop.
By Burrfection EditorialDecember 22, 2016Updated November 21, 20264 min read
This article contains affiliate links: I may earn a commission if you buy through them, at no extra cost to you. How this works

The short version
- Follow the curve. A fillet knife curved from tip to tip shouldn't be sharpened with straight up-and-down strokes, or you'll create flat spots. Use full, even tip-to-tip strokes with very light pressure.
- Respect the factory bevel. The Shun Classic boning/fillet knife has roughly an 80/20 bevel, so spend more time on the right side than the left.
- Deburr on the stone. A countdown of single strokes per side (20, 18, 16… down to 1) stands the burr up and removes it without felt, cork or a strop.
The knife: Shun Classic 6-inch boning/fillet
This Shun Classic 6-inch fillet/boning knife is a knife you don't need, but it's really nice to have if you cook a lot of meat, and I smoke ribs and salmon all the time (0:00). It's curved from tip to tip, like a mini scimitar. My other boning knives are straight with only a slight curve at each end, so this profile was new to me. The finish is impeccable. The ebony pakkawood handle is smooth and well polished, the spine and choil are polished, and there's zero step where the handle meets the blade, which is rare on a Japanese knife (1:47).
The steel is VG-MAX, slightly harder than VG-10, at 60 to 61 HRC, quite hard for an everyday knife, with Damascus cladding over the core (3:17). The D-shaped handle favors right-handed users; I have small hands and found it very comfortable, but cooks with large hands may find it a little small around. Out of the box I'd rate its sharpness a 7, maybe an 8, and that's exactly where a boning knife should be. If you nick a bone with an ultra-sharp edge, you risk chipping it, so for a boning knife I aim for a 7 or 8 out of 10, not a 10 (4:23).
Starting from dull
After my boning knife comparison, more than a dozen people asked me to show how to sharpen this knife and the Tojiro, so here's the Shun (0:00). It was still fairly sharp, so I ran it 20 times on a brick. No knife has survived that test, not even my 66-HRC Gihei. Painful to watch, worse to do, but afterward it wouldn't cut anything.
Follow the curve
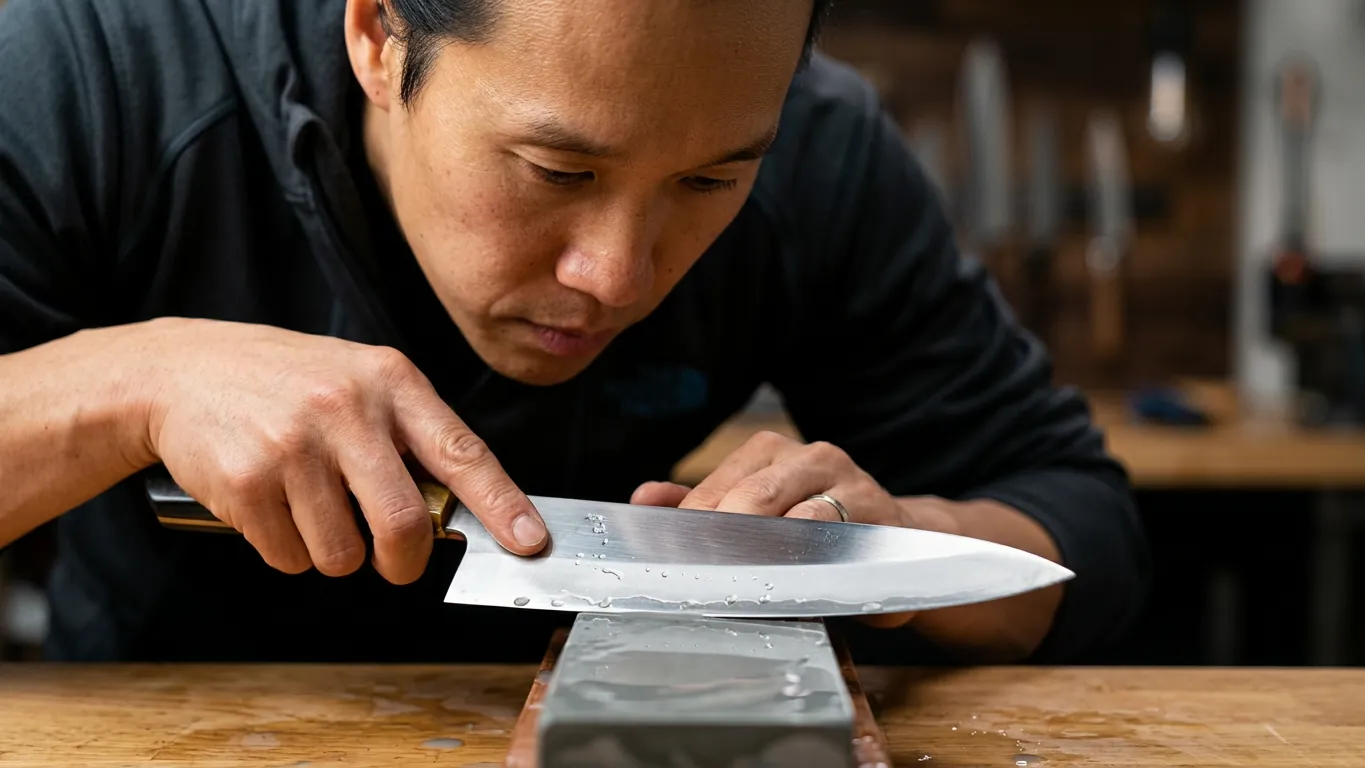
This knife has a beautiful, constant radius, so it's not one you want to sharpen with straight up-and-down strokes (1:03). You can, but over time you risk creating flat spots. Instead I use full strokes back and forth that cover the edge from tip to tip, so the whole length gets sharpened evenly and the weight is evenly distributed. Take your time. That's the key with this knife.
Keep the 80/20 bevel
Look closely and you'll see the bevel isn't symmetrical: it's roughly 80/20, with about 80% on the right side and 20% on the left (1:24). That dictates how long you spend on each side. Sharpen both sides evenly and you'll gradually grind it into a 50/50 bevel. It will still perform fine, but I want to keep the factory grind. That doesn't mean sharpening the right side four times as long; that's the most exacting method, but I don't think you need it (5:20). Just spend a little more time on the side with the steeper bevel and the knife will stay close to its original angle. In this session I did about 30 strokes on the left, 40 on the right, then 30 and 40 again.
One stone, light pressure
I used a single 3000-grit stone for the whole session (2:08). Single strokes on a 3000 take a while, so I went back and forth to sharpen on both the up and down strokes. If your knife is truly dull, start on a coarser stone. Don't count on feeling a burr on this knife; chances are you won't feel much.
The important part is pressure, or rather the lack of it (6:18). Don't press down when the knife is on the outside of the stone or on the stone's edge. The only way I know to keep my weight centered is not pushing at all: let the weight of your hands and the knife hold the angle while you simply guide it. You can apply pressure if you have a delicate hand, but the moment you press while the knife is hanging off the stone, it's very easy to grind the stone's corners. One more tip: my stone's plastic base slipped partway through, so I put something grippy underneath. A stable stone matters.
The countdown deburr
Once both sides are sharpened, I switch to single strokes per side, starting at 20 (8:04). Twenty strokes on the left, 20 on the right, then 18 each, 16, 14, 12, 10, 8, 6, 4, 2, and finally single strokes back and forth a few times. Each time you flip the knife and reduce the count, the burr stands up closer to the apex while you also remove some of it at a micro level (12:49). You're polishing the edge and deburring in the same step, which is why you don't see me dragging the edge through cork, wood or felt. For me it's the easiest and best way to remove a burr.
The result
On crumpled, damp paper, the edge cut very cleanly and feathered a single sheet, sharp from tip to tip, including curved cuts (15:06). The whole session took only a few minutes on one polishing stone, which also gave the edge a nice polish (16:34). There's never just one way to sharpen a knife. Find the method that works for you and stick with it, but this one is easy, consistent and fast.
Bottom line
Sharpen a curved fillet knife with full, light tip-to-tip strokes, give the steeper side of the bevel a little more time, and finish with a countdown of single strokes to remove the burr on the stone itself. If you're shopping for a boning knife, my honesuki guide compares the Japanese options. For stones, start with the sharpening kits at the Burrfection Store.
First access
Private drops, new knives and sales
Get them from Burrfection and our retail partners before anyone else. No spam; unsubscribe anytime.
Emails from Burrfection Inc. See privacy.