How to Sharpen a Santoku by Hand on Whetstones, From A to Z
Grip, angle by feel, clearing the bolster, deburring and polishing without a strop: my complete whetstone session on a Wüsthof Classic Ikon santoku.
By Burrfection EditorialNovember 27, 2016Updated November 21, 20267 min read
This article contains affiliate links: I may earn a commission if you buy through them, at no extra cost to you. How this works

The short version
- Find the angle by feel, not by degrees. Lean the spine down while you move the knife: if it slips, the angle is too low; if it bites into the stone, it's too high. On a Wüsthof Classic Ikon santoku that lands around 18 to 20 degrees.
- Pressure only on edge-trailing strokes. It pulls the burr to the apex and keeps the knife from gouging your stone.
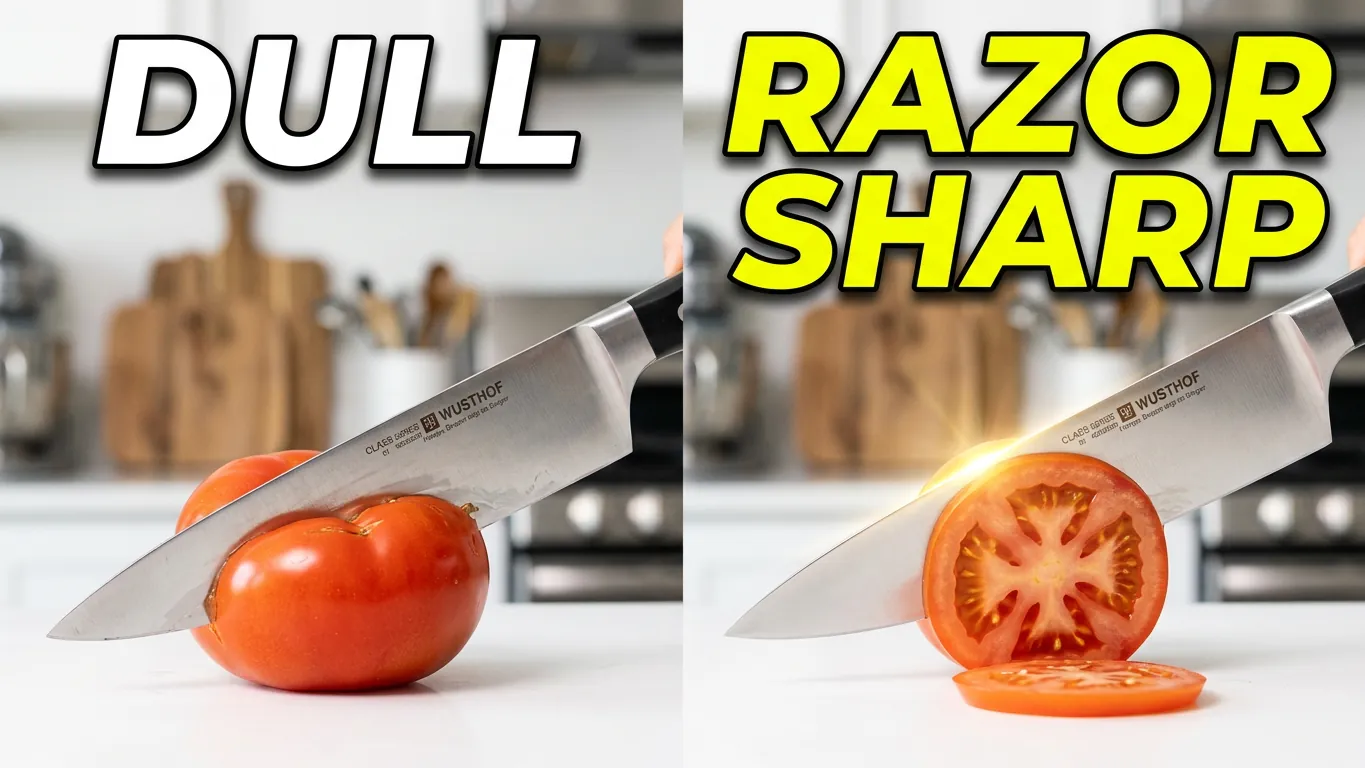
- You don't need a strop. Polishing on the Naniwa Pro 3000 with edge-trailing strokes, counting down from 12 to 1, gives a razor edge from stones alone.
The setup
A subscriber asked for a complete sharpening session from A to Z on a Wüsthof Classic Ikon santoku, the one with the Granton (scalloped) edge, so here it is (0:00). A santoku is a very easy knife to sharpen. I used the Naniwa Chosera stones, now sold as the Naniwa Pro 800 and Pro 3000, which work in conjunction. My station also has a nagura for cleaning the stones, a rust eraser for rust and patina, and an Atoma flattening plate, which I didn't need today. This is how I sharpen, from my own experience. There are many ways to sharpen a knife, and this is just what works for me.
The grip for the right side
When I sharpen the right side, I bring my middle finger up, almost like a pinch grip, but instead of gripping with my index finger I put it on top of the spine for stability (2:29). Your last two fingers don't do much besides holding the handle to your palm. Your thumb and index finger are your main controls, so their positions are key: keep them as far apart as you comfortably can. With your thumb down by the cutting edge pinning the knife to the stone, and your index finger guiding the angle, you have leverage. The closer together they are, the less control you have. My method: bring your middle finger up, put your thumb down first, then simply roll your index finger onto the spine wherever it naturally falls.
Hold the knife at roughly 45 degrees to the length of the stone (4:38). A lot of people sharpen either too far sideways or straight across, and both are bad for your knife and your stone. Too far one way and you cut into the stone, and you can't use as much of its surface. At about 45 degrees, it's easy to move the knife around to different areas of the stone.
Finding the angle by feel
Sharpening angle is the big debate, but I don't talk about specific angles (5:21). Here's how I find mine: set the knife at roughly what I think is 15 degrees, put pressure near the edge, and drag the knife toward me. Then raise or lower the spine. If the knife starts to slip, the angle is too shallow; if it feels like it's eating into the stone, it's too high. For this knife, that's about two quarters stacked under the spine, probably closer to 18 or even 20 degrees than 15. You can also find it edge-trailing, by pulling the knife backward and leaning the spine toward the stone until the grip changes, then backing off a little (7:09). Every manufacturer sharpens at a different angle, so if you try to force exactly 15 degrees on a knife that came at 12 or 18, you can mess it up. The angle the knife came with is the easiest one to sharpen at.
Keep your fingers off the stone
When you pin the knife down, keep your fingertips low, a millimeter or so above the cutting edge, for the most stability (8:51). Just don't touch the stone. If your fingers grip the stone, the knife can come down and cut your fingertips in a split second. A couple of people have asked me why they keep cutting their fingers, and that's exactly why. Touch the knife, never the stone.
Use the whole stone, and feel for the burr
I emphasize the top and bottom ends of the stone during the tip passes (10:36). Most of the wear happens in the middle anyway, so using as much of the stone as possible keeps it flat longer and the wear even. A lot of people say you need to flatten your stone before or after every session. I personally don't believe that.
As I sharpen, I run my finger along the side of the edge, feeling for a burr: a very fine fold of metal along the edge (12:15). If you feel a really big burr, that's a sign you're using too much pressure. Once you've raised a fine burr along the whole edge, flip the knife to the other side. I like to flip the stone end for end too, because you wear a specific region of the stone more than you'd think, and flipping it evens that out.
The left side and the heel
For the left side, I bring my index finger down first, then rest my thumb on the spine (12:58). Let your fingers fall naturally into place; you don't want to flex or stretch any one finger. If you know you struggle with the front of the blade, start with your hand further forward so you have leverage there. This grip wraps more around the handle than the right-hand grip, and you have to let your wrist fall forward a little to get there.
On this side, once you're about halfway down the blade, you need to turn the knife (15:04). If you don't, the bolster at the heel eats into the stone. Turning the knife brings the heel of the edge onto the stone and clears the bolster. Some people sharpen in sections, but I lose my angle that way, so I slowly rotate the knife into position while I'm sharpening, all in one pass. It just takes a little practice.
Deburring before polishing
Before I move to the polishing stone, I clean up the burr on the sharpening stone, which makes the polishing stone's job easier and reduces loading (17:43). At the same sharpening angle, I run the knife very lightly along the length of the stone, tip to tip, applying pressure only when the edge is trailing. I never press with the edge leading, even while sharpening, for two reasons. Edge-trailing strokes pull the burr toward the apex, and they guarantee the knife won't dig into the stone. I get so many emails about knives leaving big grooves in stones.
The left side is the tricky one for a lot of people (19:29). If you can't hold the angle going tip to heel, lay the knife down and drag from the heel to the tip instead; it works just as well. Either way, follow the curve of the edge with your hands so you don't leave a flat spot. Then reduce the strokes: five per side, then three, then single strokes alternating sides a couple of times. You should feel no burr on either side now, because the burr is standing up on the edge.
Polishing without a strop
For the polishing, I use the Naniwa Pro 3000 with no newspaper, leather or compound, just the stone (0:41). Many people polish the same way they sharpen, back and forth, and that's completely valid; I used to do it too. But I've found my polish is more consistent when I use only edge-trailing strokes, essentially stropping on the stone itself.
The grip is the same as for sharpening, and the angle should match your sharpening angle as closely as possible (2:08). The big difference is pressure: very little. Let the weight of your hands and the knife do the work. Your fingers can sit a little higher on the blade because they're only stabilizing it. A lot of people use the coin trick to set the angle, laying the spine on a couple of quarters or pennies, and that's fine, except not every knife has the same thickness and edge angle (3:58). If it works for you, stick with it.
Start with about 12 strokes per side, then 10, then 8, 6, and so on, matching the count on both sides each time (7:54). Each pass pushes the burr back the other way a little less, until it stands on its end. As you go, listen: the sound gets finer and finer, which tells you you're removing the excess burr (10:31). Finish with four or five single strokes per side. You can pull the edge through a piece of wood if you want, but most of the burr is already gone. On crumpled paper, the edge cut cleanly and feathered the paper, from stones alone, with no compound (13:45). If you want to go further, newspaper is the cheap option, and stropping compound on a leather strop is the next step.
Cleaning the stones with a nagura
To clean a stone that's loading up, I run a nagura lightly up and down its length with no real pressure (14:28). Try to match the nagura's grit to the stone's: a 1000 nagura on the sharpening stone and a 3000 on the 3000 work best together. People have written to tell me this wears down my whetstones prematurely, and that's false. A nagura is much softer than a whetstone and barely removes any stone. Flattening takes off far more material, which is why I don't flatten very often.
Bottom line
Hold the knife with your thumb and index finger far apart, find the angle the knife came with by feel, press only on edge-trailing strokes, turn the knife to clear the bolster, and count your strokes down to stand the burr up. Then polish the same way on a 3000 stone and you'll have a razor edge without a strop. The Naniwa Pro 800 and Pro 3000 are the stones I used. If you're still choosing a knife, see my gyuto vs. santoku comparison, or browse the santokus at the Burrfection Store and on Gyuto.com.
First access
Private drops, new knives and sales
Get them from Burrfection and our retail partners before anyone else. No spam; unsubscribe anytime.
Emails from Burrfection Inc. See privacy.